Add iSCSI volumes from HP P4000 VSA to VMware ESXi4
Table of Contents
In today’s post I will try to explain step by step how to add an iSCSI volume from the HP Lefthand P4000 VSA to a VMware ESXi4 server.
Step One: Create a volume #
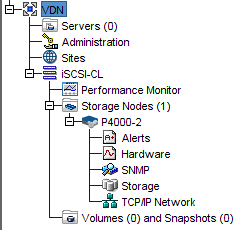
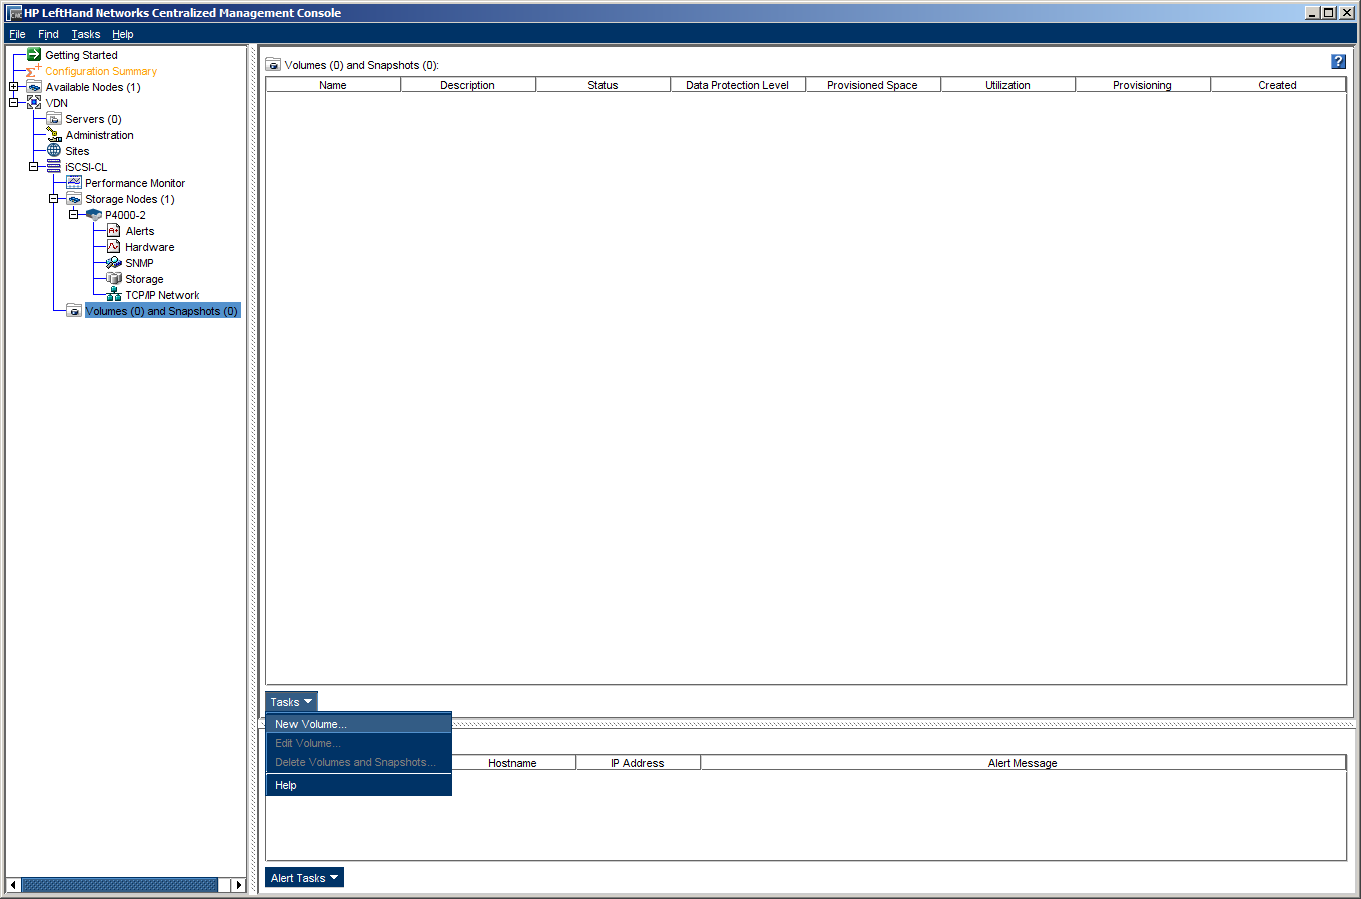
Lets suppose we already have a configured storage appliance, I showed how to create a cluster in my previous post so I will not repeat that part here. Open the Centralized Management Console and go to Management Group -> Cluster -> Volumes and Snapshots.
Click on Tasks and choose New Volume.
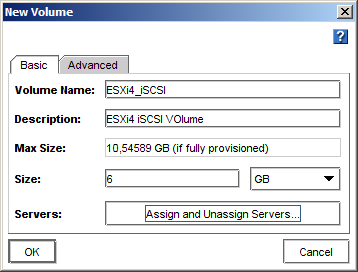
Enter the volume name, a small description and the size. The volume can also be assigned to any server already connected to the cluster, as we don’t have any server assigned this option can be ignored, for now.
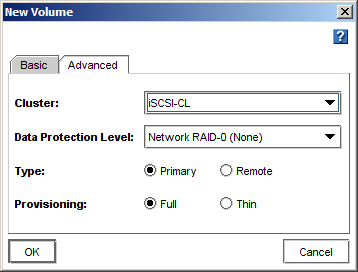
In the Advanced tab the volume can be assigned to an existing cluster and the RAID level, the volume type and the provisioning type can be set.
When everything is configured click OK and the volume will be created. After the creation process, the new volume will be showed up in the CMC.
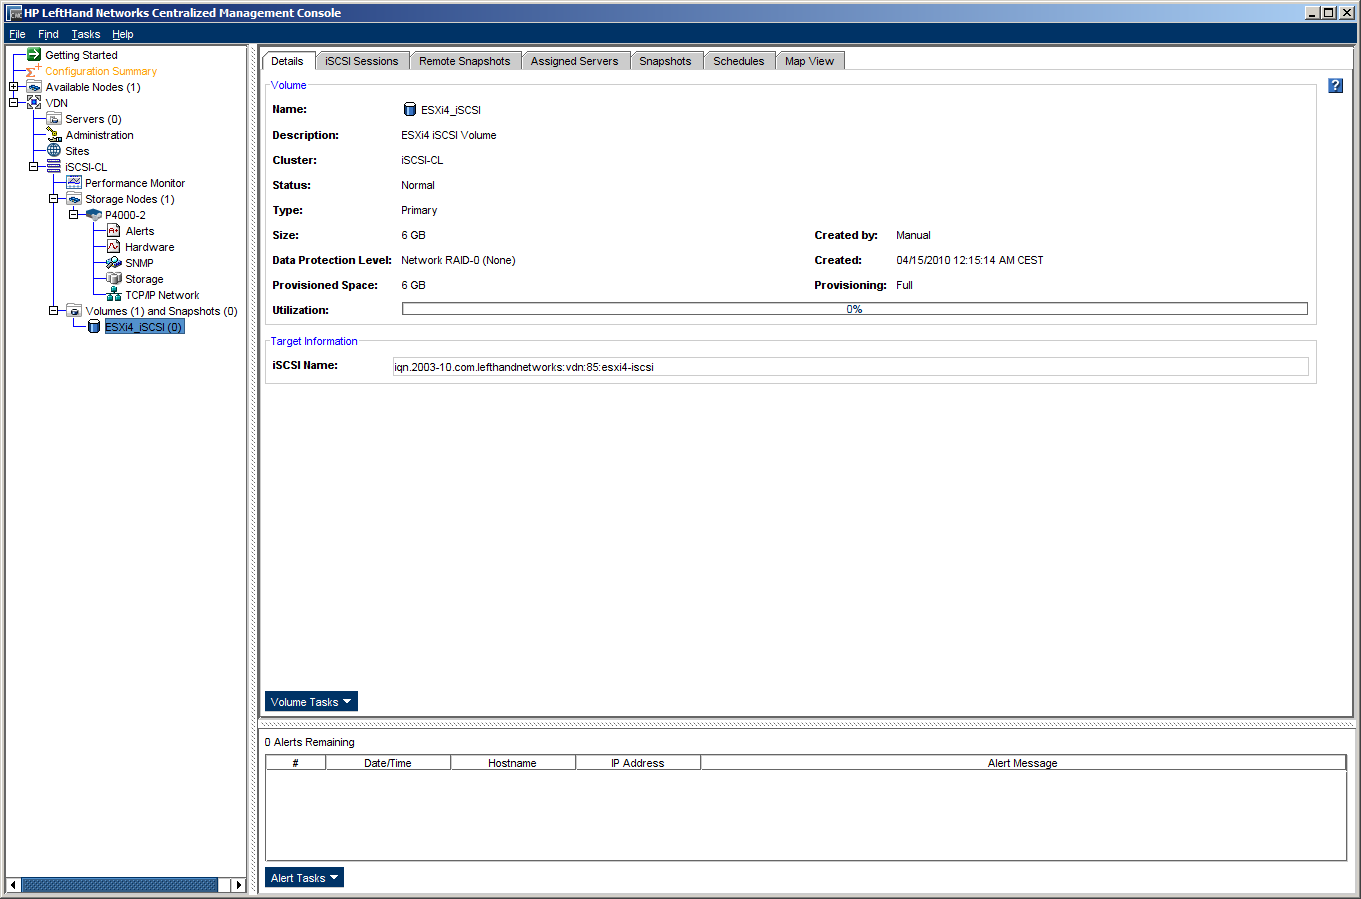
At this point we have a new volume with some RAID protection level, none in this particular case since it’s a single node cluster. Next step is to assign the volume to a server.
Step Two: ESXi iSCSI configuration #
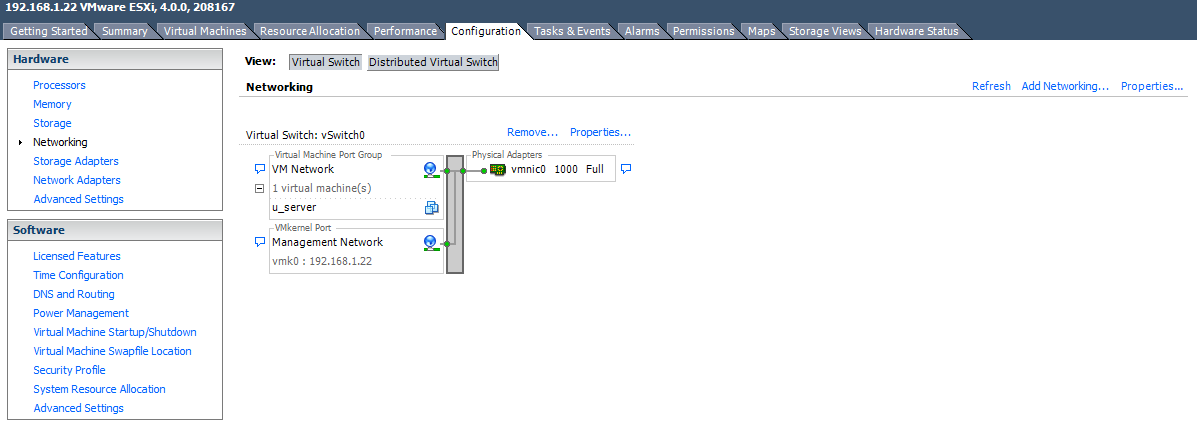
Connect to the chosen ESXi4 Server through vSphere Client and from the Configuration tab in the right pane go to the Networking area and click the Add Networking link
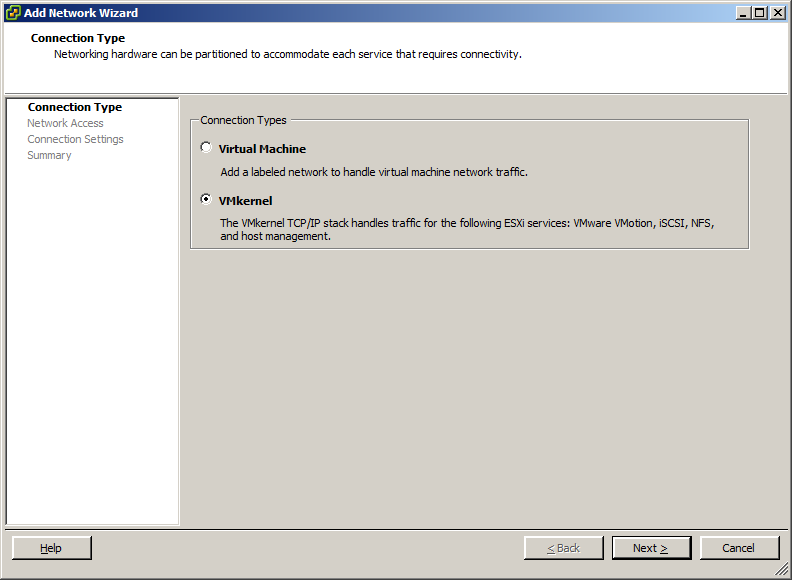
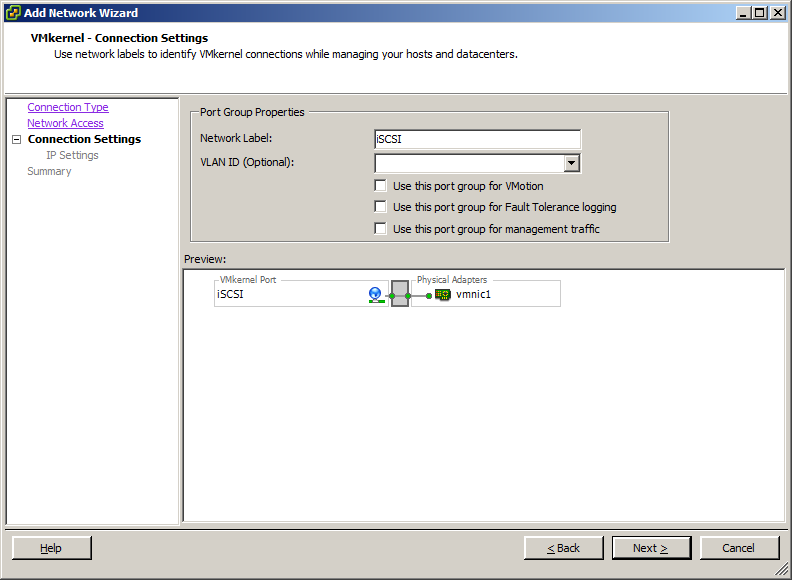
In the *Add Networking Wizard select VMkernel as Connection Type.
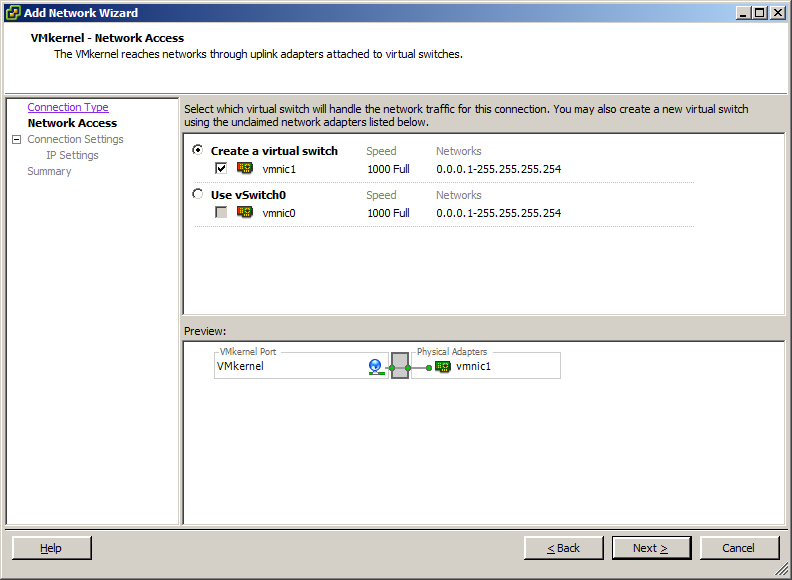
Create a new virtual switch.
Enter the Port Group Properties, in my case the label as no other properties where relevant for me.
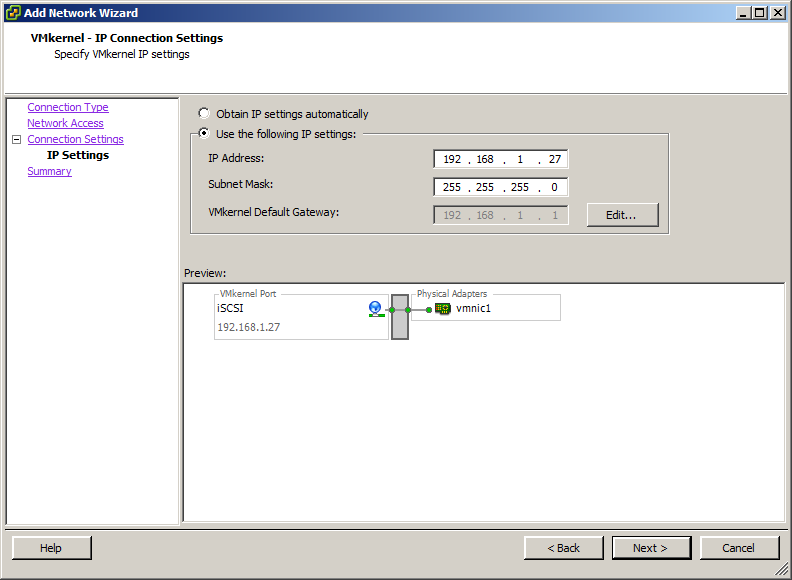
Set the IP settings, go to Summary screen and click Finish.
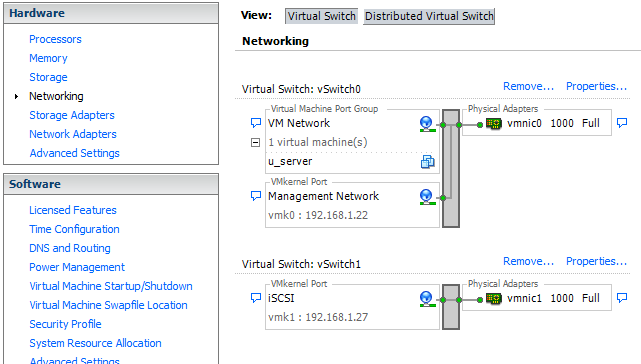
The newly created virtual switch will appear in the Networking area.
With the new virtual switch created go to Storage Adapters there you will see an iSCSI software adapter.
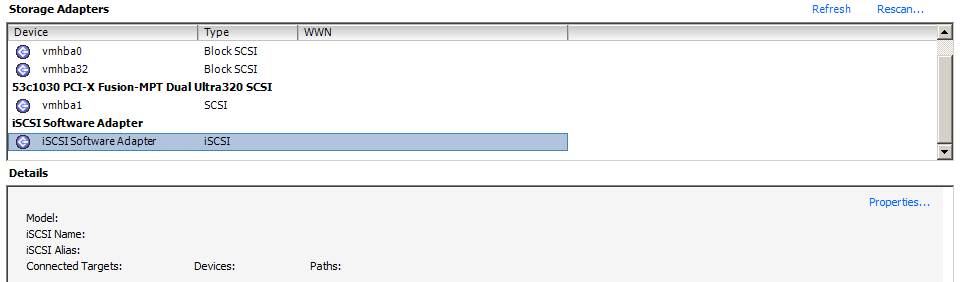
Click on properties and on the General tab click the Configure button and check the Enabled status box.

Once iSCSI is enabled its properties window will be populated.
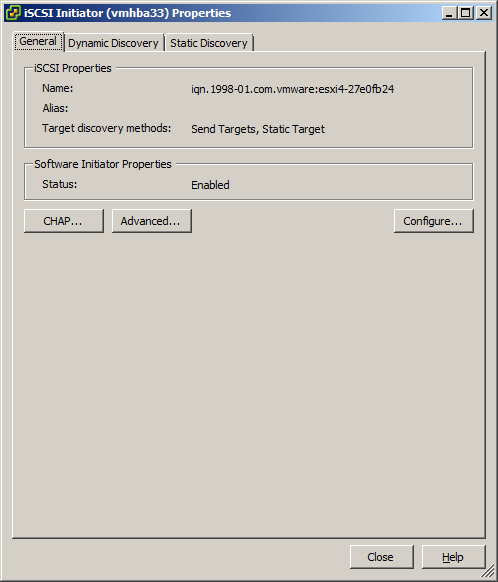
Click close, the server will ask for rescan of the adapter but at this point it is not necessary so it can be skipped.
Step Three: Add the volume to the ESXi server #
Now, that we have our volume created and the iSCSI adapter of our ESXi server activated, the next step is to add the storage to server.
On the HP Lefthand CMC go to the servers area add a new server.
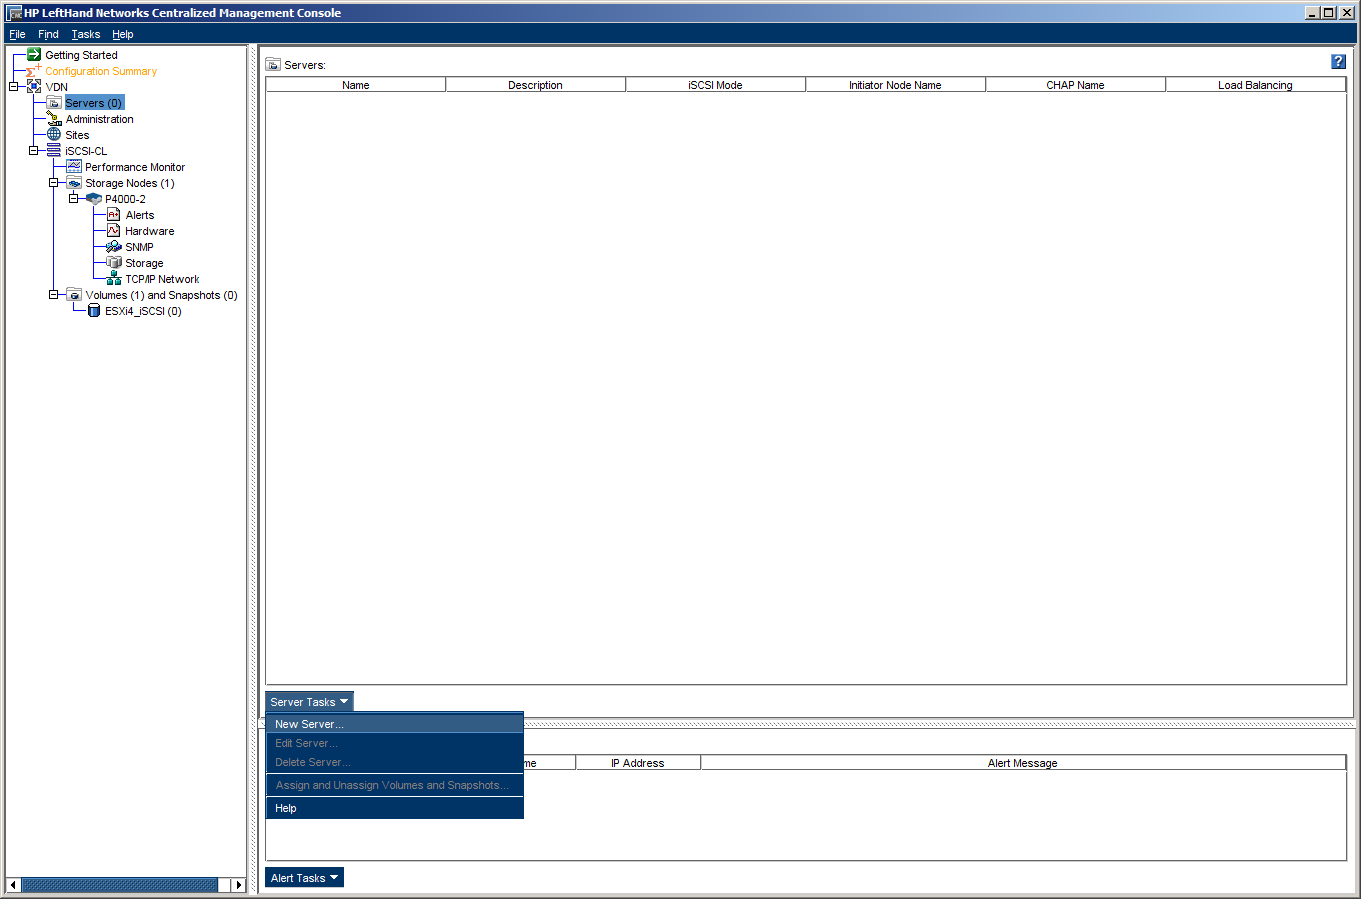
Add a name for the server, a small description, check the Allow access via iSCSI box and select the authentication. In the example I choose CHAP not required. With this option you only have to enter the Initiator Node Name, you can grab it from the details of the ESXi iSCSI adapter.

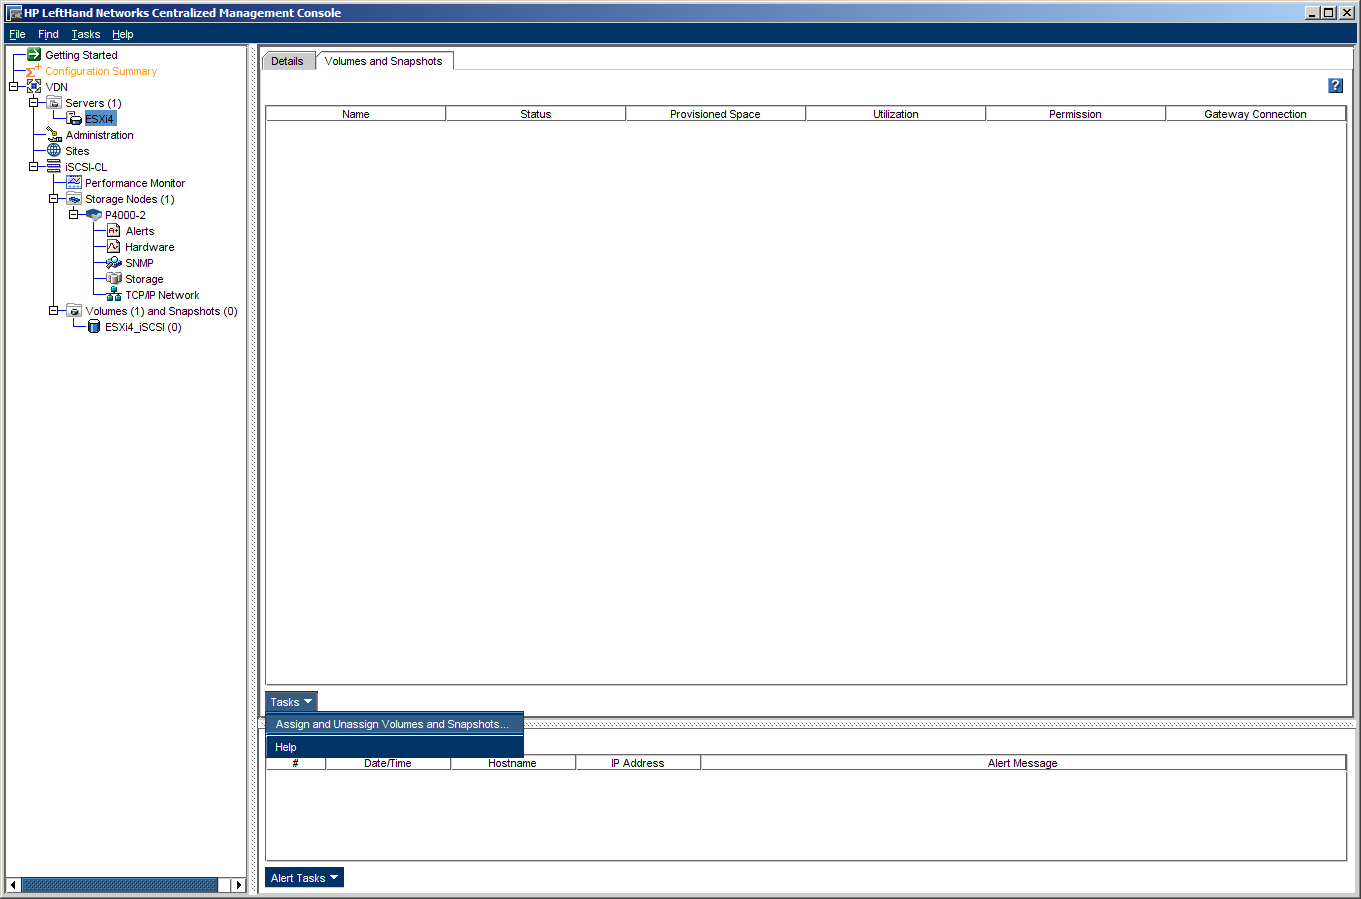
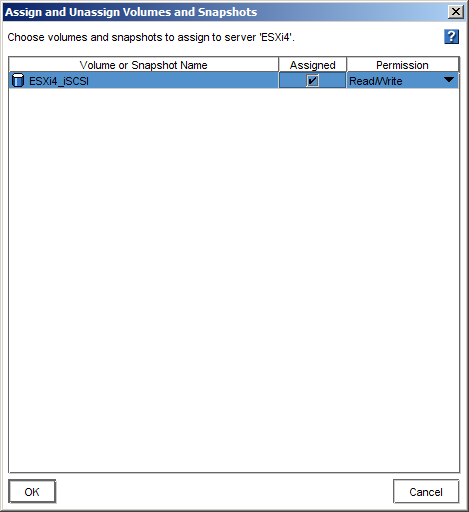
To finish the process click OK and you will see the newly added server. Go to the Volume and Snapshots tab on the server configuration and from the Tasks menu assign a volume to the server.
Select the volume created at the beginning,
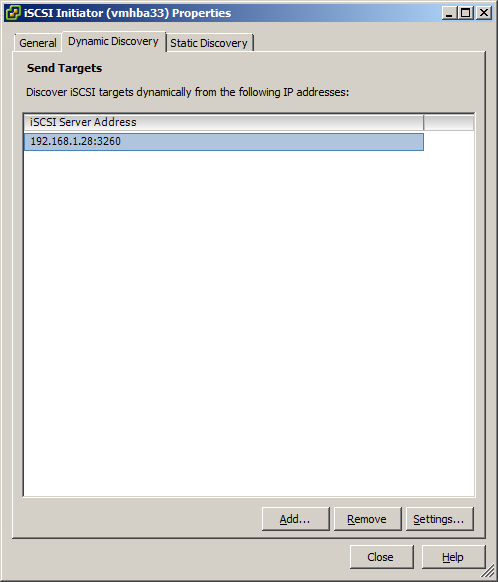
Now go back to the vSphere client and launch again the properties of the iSCSI adapter. On the Dynamic Discovery tab add the virtual IP address of the VSA cluster.
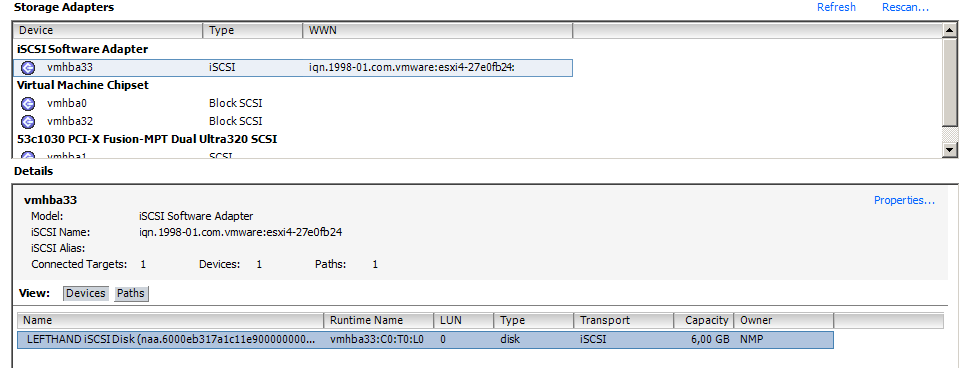
Click Close and the server will ask again to re-scan the adapter, now say yes and after the re-scanning process the iSCSI LUN will show up.
Now in the ESXi a new Datastore can be created with the newly configured storage. Of course the same LUN can also be used to provide shared storage for more ESXi servers and used for VMotion, HA or any other interesting VMware vSphere features. May be in another post ;-)
Juanma.