
Running pi-hole as a podman container in Fedora
I run Pi-Hole at home to filter and block ad traffic, is a fantastic piece of of software that helps me to keep me and my son away from unwanted ads. It can be run on a VM or even better a Docker container. If you are not doing it yet I encourage you to visit Pi-Hole homepage and take a look at the project and donate or contribute in GitHub to keep it running.
For the last year and a half or so I have been running pi-hole on a CentOS 7 virtual machine, it’s been working great but I wanted to move it outside of my ESXi host and separate it from my lab workloads. Many people use a Raspberry Pi to run it and my original intention was exactly that and use Portainer to manage the container like I was doing on CentOS, however I had a GIGABYTE GB-BXBT-2807 mini PC laying around. This little fella used to be my media center, is a NUC-like machine with a dual-core Intel Celeron N2807 CPU, 8GB of RAM and a 60GB SSD. It has enough room not only for Pi-Hole but also for other workloads I am planning to run to support my home network.
I decided to move from CentOS to Fedora Server so I installed version 33. Fedora 33 comes with a caveat, since it uses cgroupvs2 Docker does not work. But that is not the end of the world because it has Podman available instead, I’ve used it in the past for testing purposes but never to run any serious workloads at home, there are ways to install Docker in Fedora 33 but I decided to use the default option and try run Pi-Hole on it.
If you have never heard about Podman, or Pod Manager, it is a daemonless container engine for OCI Containers on Linux originally developed by Red Hat as an open source project and intended to replace Docker in the Fedora/CentOS/RHEL ecosystem.
Prepare the server
Install Fedora 33 in a virtual machine or like in my case in a physical system, is up to you to decide the type of installation but for me minimal installation is more than enough to keep the system and its attack surface as small as possible.
After the OS is installed run dnf update to get latest Fedora updates and install Podman.
sudo dnf update -y
sudo dnf install -y podman
Next we need to adjust Fedora network configuration. By default Fedora Server comes with NetworkManager to manage networking and systemd-resolved service enabled, we will maintain NetworkManager but will configure static ipv4 addressing, FirewallD DNS servers using nmcli tool and disable systemd-resolved.
Set an static IP address
Modify your existing connection with nmcli, my connection is ens192 but you should run nmcli connection to get a list of the existing connections and use the appropriate one.
sudo nmcli connection modify ens192 ipv4.method manual
sudo nmcli connection modify ens192 ipv4.addresses 192.168.1.94/24
sudo nmcli connection modify ens192 ipv4.gateway 192.168.1.1
Configure DNS
Configure DNS and stop and disable systemd-resolved service.
sudo nmcli connection modify ens192 ipv4.dns "8.8.8.8 8.8.4.4"
sudo systemctl disable systemd-resolved
sudo systemctl stop systemd-resolved
sudo unlink /etc/resolv.conf
sudo systemctl restart NetworkManager
Configure FirewallD
Configure FirewallD by adding rules to enable access to Pi-Hole TCP and UDP ports. If you want to know more about firewalld review my article here.
sudo firewall-cmd --zone=FedoraServer --add-port=80/tcp
sudo firewall-cmd --zone=FedoraServer --add-port=443/tcp
sudo firewall-cmd --zone=FedoraServer --add-port=53/tcp
sudo firewall-cmd --zone=FedoraServer --add-port=53/udp
sudo firewall-cmd --zone=FedoraServer --add-port=67/udp
sudo firewall-cmd --permanent --zone=FedoraServer --add-port=53/udp
sudo firewall-cmd --permanent --zone=FedoraServer --add-port=53/tcp
sudo firewall-cmd --permanent --zone=FedoraServer --add-port=443/tcp
sudo firewall-cmd --permanent --zone=FedoraServer --add-port=67/udp
sudo firewall-cmd --permanent --zone=FedoraServer --add-port=80/tcp
Run Pi-Hole
Pi-Hole will need two container volumes to persist data, we can create them with podman in the same way as with docker cli.
sudo podman volume create pihole_pihole
sudo podman volume create pihole_dnsmasq
Pull latest pihole container image.
sudo podman pull pihole/pihole
Run pihole container to test that it works.
podman run --name=pihole \
--hostname=pi-hole \
--cap-add=NET_ADMIN \
--dns=127.0.0.1 \
--dns=1.1.1.1 \
-e TZ=Europe/Madrid \
-e SERVERIP=192.168.1.20 \
-e WEBPASSWORD=my_pihole_password \
-e DNS1=1.1.1.1 \
-e DNS2=1.0.0.1 \
-e DNSSEC=true \
-e CONDITIONAL_FORWARDING=true \
-e CONDITIONAL_FORWARDING_IP=192.168.1.1 \
-e CONDITIONAL_FORWARDING_DOMAIN=lan \
-e TEMPERATUREUNIT=c \
-v pihole_pihole:/etc/pihole:Z \
-v pihole_dnsmasq:/etc/dnsmasq.d:Z \
-p 80:80/tcp \
-p 443:443/tcp \
-p 67:67/udp \
-p 53:53/tcp \
-p 53:53/udp \
pihole/pihole
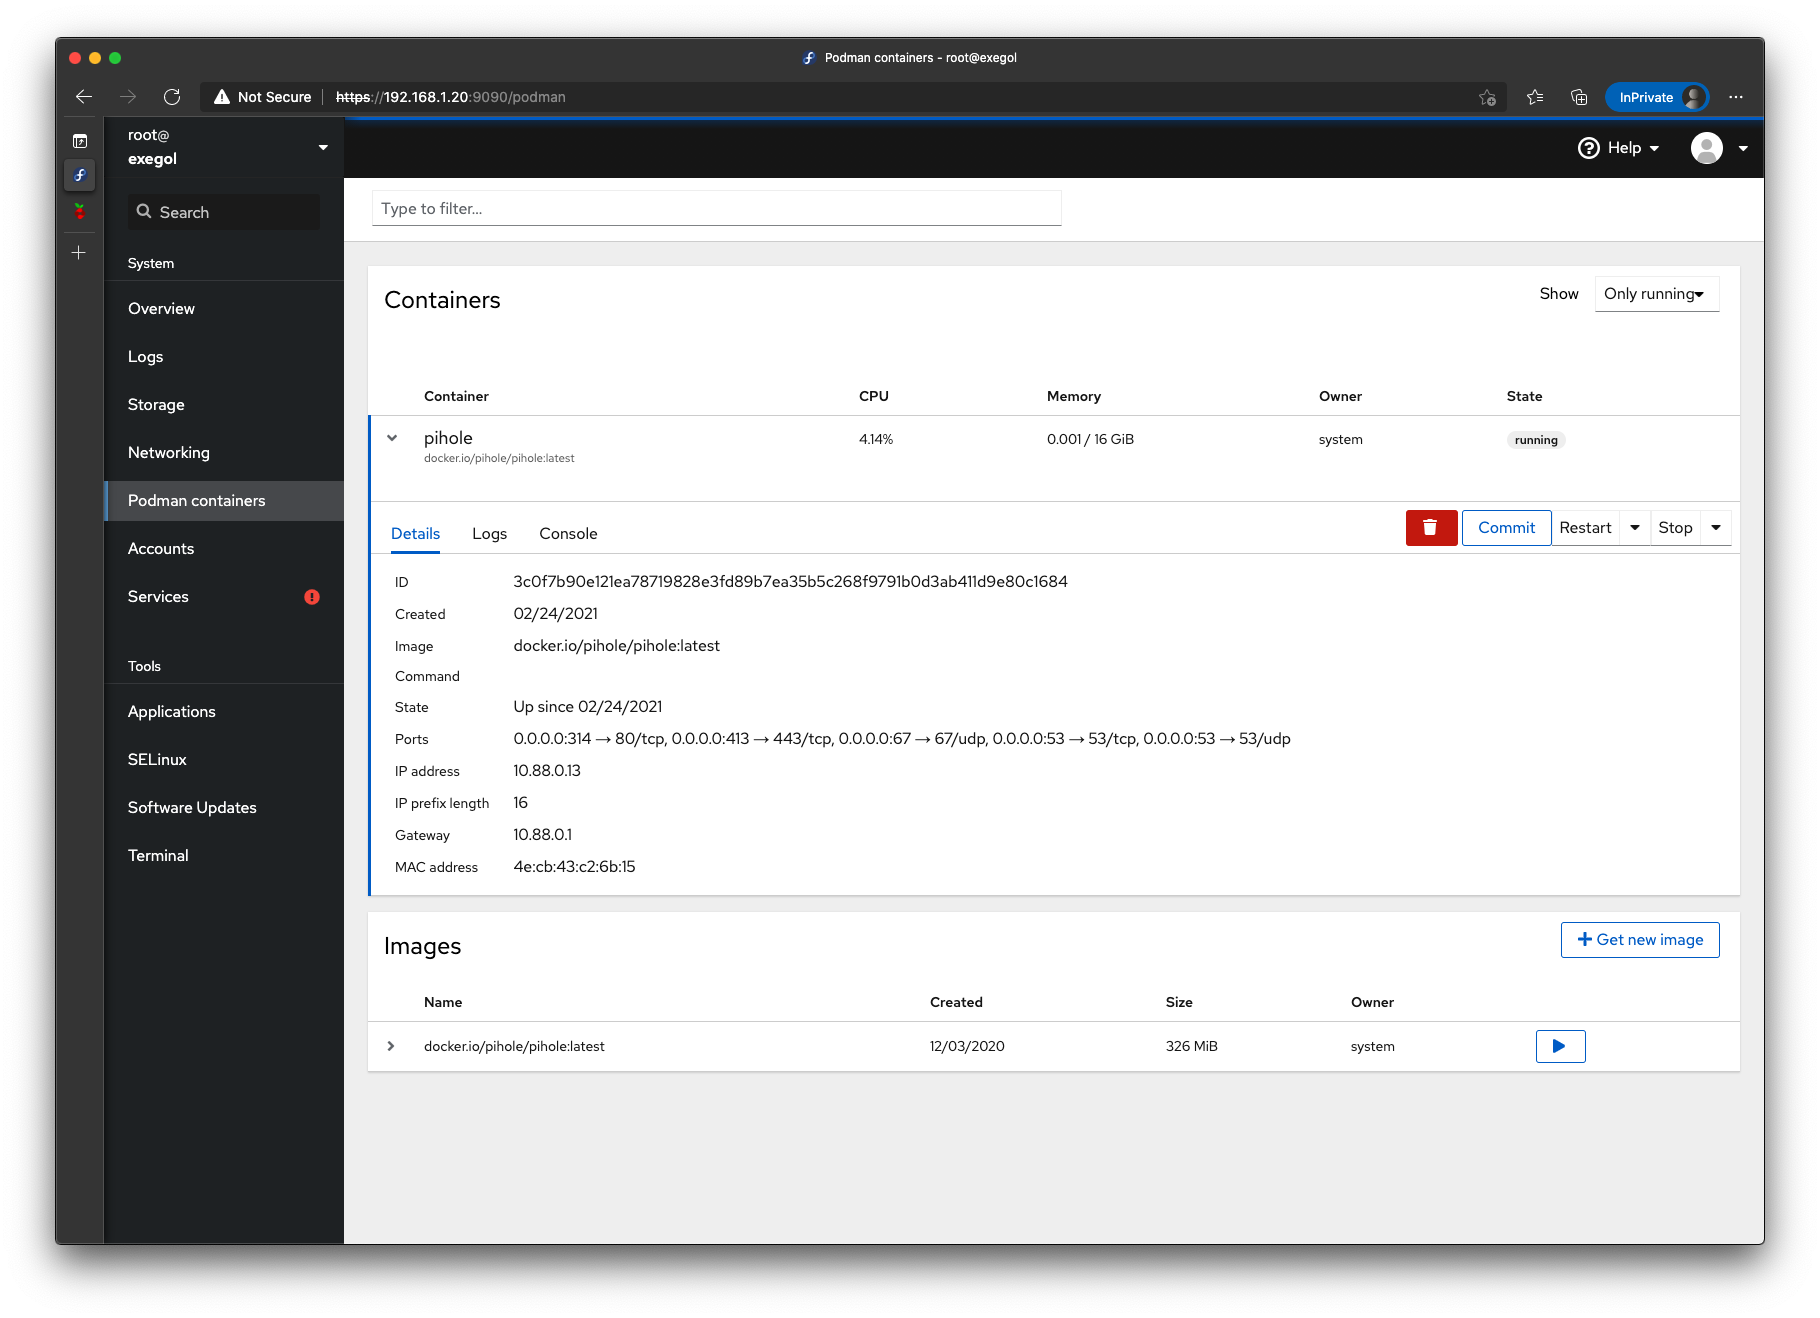
You can verify that container running with sudo podman ps.
$ sudo podman ps
CONTAINER ID  IMAGE                           COMMAND  CREATED      STATUS          PORTS                                                                                                  NAMES
3c0f7b90e121  docker.io/pihole/pihole:latest           2 weeks ago  Up 2 weeks ago  0.0.0.0:53->53/tcp, 0.0.0.0:53->53/udp, 0.0.0.0:67->67/udp, 0.0.0.0:80->80/tcp, 0.0.0.0:443->443/tcp  pihole
Configure Pi-Hole as systemd service
We have verified that Pi-Hole can be run as a Podman container, however if the server gets down or we reboot it for whatever reason we will need to run the container manually again. In CentOS with Docker I had this solved by using Portainer, however since Portainer needs to be run as privileged container cannot be run with Podman. Instead I decided to create a SystemD service that will be automatically run during server startup.
Create your service unit file in /etc/systemd/system, I named mine pi-hole.service.
[Unit]
Description=Pi-Hole Podman Container
After=firewalld.service

[Service]
ExecStart=/usr/bin/podman run --name=pihole --hostname=pi-hole --cap-add=NET_ADMIN --dns=127.0.0.1 --dns=1.1.1.1 -e TZ=Europe/Madrid -e SERVERIP=192.168.1.20 -e WEBPASSWORD=my_pihole_password -e DNS1=1.1.1.1 -e DNS2=1.0.0.1 -e DNSSEC=true -e CONDITIONAL_FORWARDING=true -e CONDITIONAL_FORWARDING_IP=192.168.1.1 -e CONDITIONAL_FORWARDING_DOMAIN=lan -e TEMPERATUREUNIT=c -v pihole_pihole:/etc/pihole:Z -v pihole_dnsmasq:/etc/dnsmasq.d:Z -p 80:80/tcp -p 443:443/tcp -p 67:67/udp -p 53:53/tcp -p 53:53/udp pihole/pihole
ExecStop=/usr/bin/podman stop -t 2 pihole
ExecStopPost=/usr/bin/podman rm pihole

[Install]
WantedBy=multi-user.target
After creating the service unit file and before staring the service configure SELinux to allow systemd to load containers.
setsebool -P container_manage_cgroup on
Enable and start the new service and reboot to verify it runs at boot.
sudo systemctl enable pi-hole.service
sudo systemctl start pi-hole.service
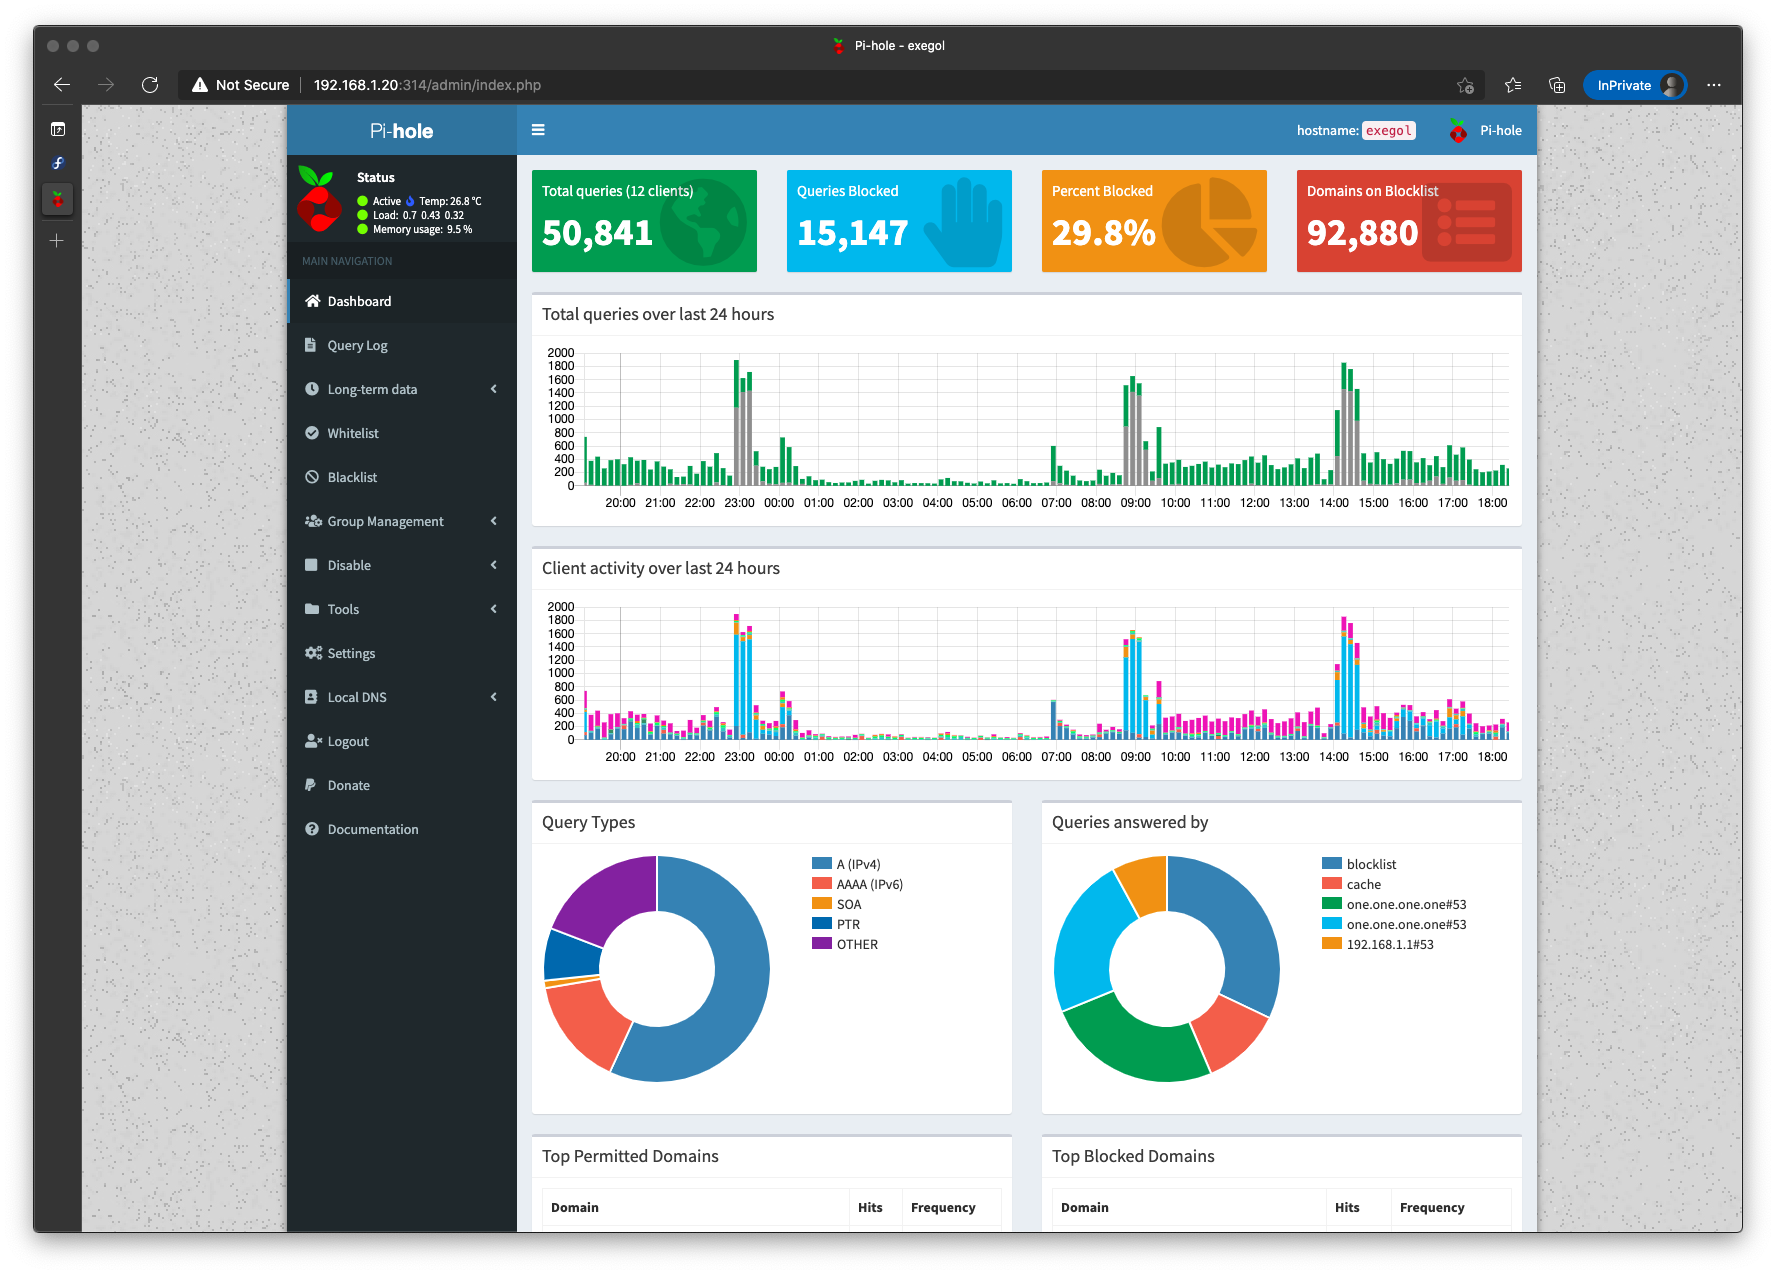
Access yoour Pi-Hole at http://pi_hole_ip/admin, login and see the magic happen :)
FInally I installed cockpit-podman package to keep track of this and future podman containers from Cockpit.
Please left any comments about your usage of pi-hole, experience with podman, etc.
–Juanma
Comments