First steps with Pivotal Lattice
Table of Contents
Lattice is the latest addition from Pivotal to its portfolio of open source projects. Lattice leverages various components from Cloud Foundry, in order to run containerized workloads in a cluster.
- Diego - The new Cloud Foundry elastic runtime. Acts as an action-based scheduler and provides support for Docker images.
- Doppler - The log and metric aggregator for the platform and the running workloads.
- Gorouter - A software-based router with reverse proxy capabilities. Dynamically updated as the containers are spun up and down.
The first fact we need to understand about Lattice is that it is not intended to run production workloads. Instead Lattice is meant to be run on Virtualbox or VMware Fusion using Vagrant. In the end Lattice is an easy way to leverage all the power of Cloud Foundry for running containers, in your laptop and without having to bother about all Cloud Foundry installation details.
Deploying Lattice #
Installing and running Lattice in your laptop is relatively easy process, first of all we will need First download the latest package from GitHub Releases page for Lattice, there are packages available for Linux and OS X.
Unzip the package in a directory with the rest of your virtual machines.
unzip lattice-bundle-v0.4.3-osx.zip
Now copy the ltc utility to a directory in your PATH, I always use /usr/local/bin for this kind of binaries.
Running Lattice #
Running Lattice should be quite simple, just change to vagrant directory on Lattice installation path, then execute vagrant up command and that’s it. However there is a caveat, by default the Vagranfile will use the IP address 192.168.11.11 if LATTICE_SYSTEM_IP variable is not provided during the execution.
To avoid this issue pass LATTICE_SYSTEM_IP variable to Vagrant during the execution. I personally have used both VMware Fusion and VMware AppCatalyst but you can use Virtualbox too. For the AppCatalyst the only requirement is to have appcatalyst-daemon running since it is needed by the Vagrant provider.
LATTICE_SYSTEM_IP=192.168.161.11 vagrant up --provider vmware_fusion
With this we will have our Lattice instance up and running. Next we need to tell ltc how to connect to our Lattice instance, this operation is called targeting.
ltc target 192.168.161.11.xip.io
With the API endpoint set let’s deploy our first application, for this example we will use Lattice example app. Run the ltc create command with the name of the new app and the container to be spun up as the arguments.

Open your favorite browser and access https://my-app.192.168.161.11.xip.io.
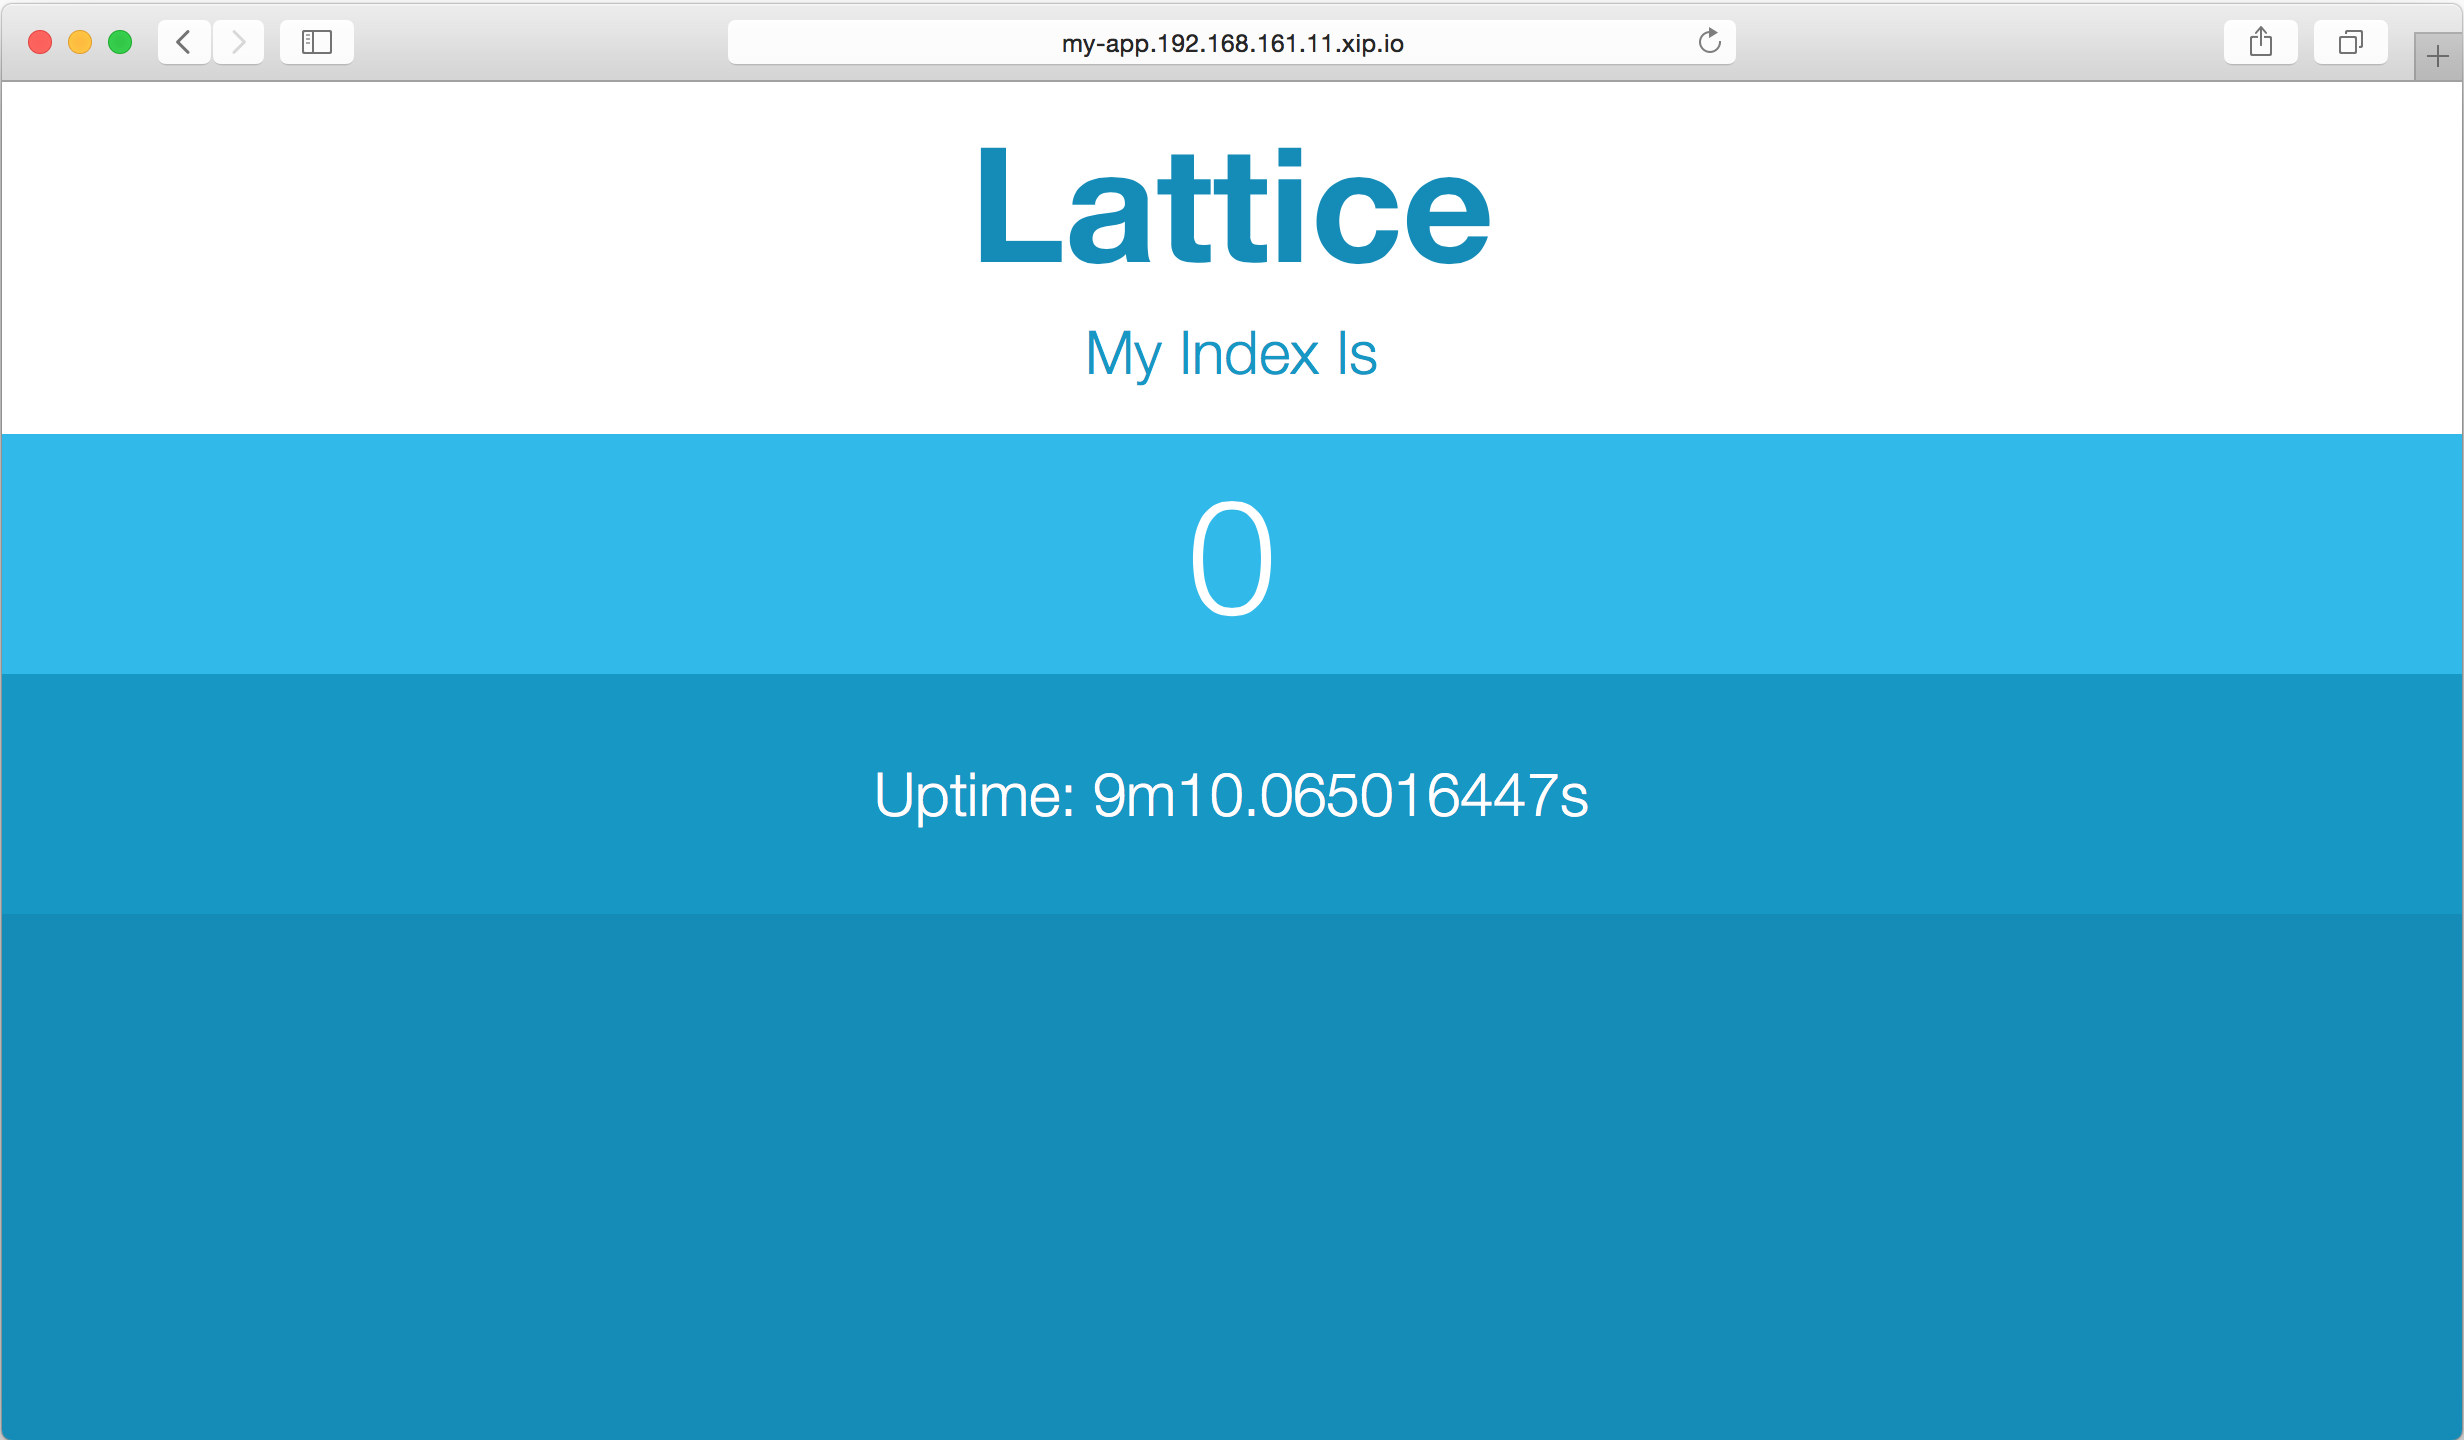
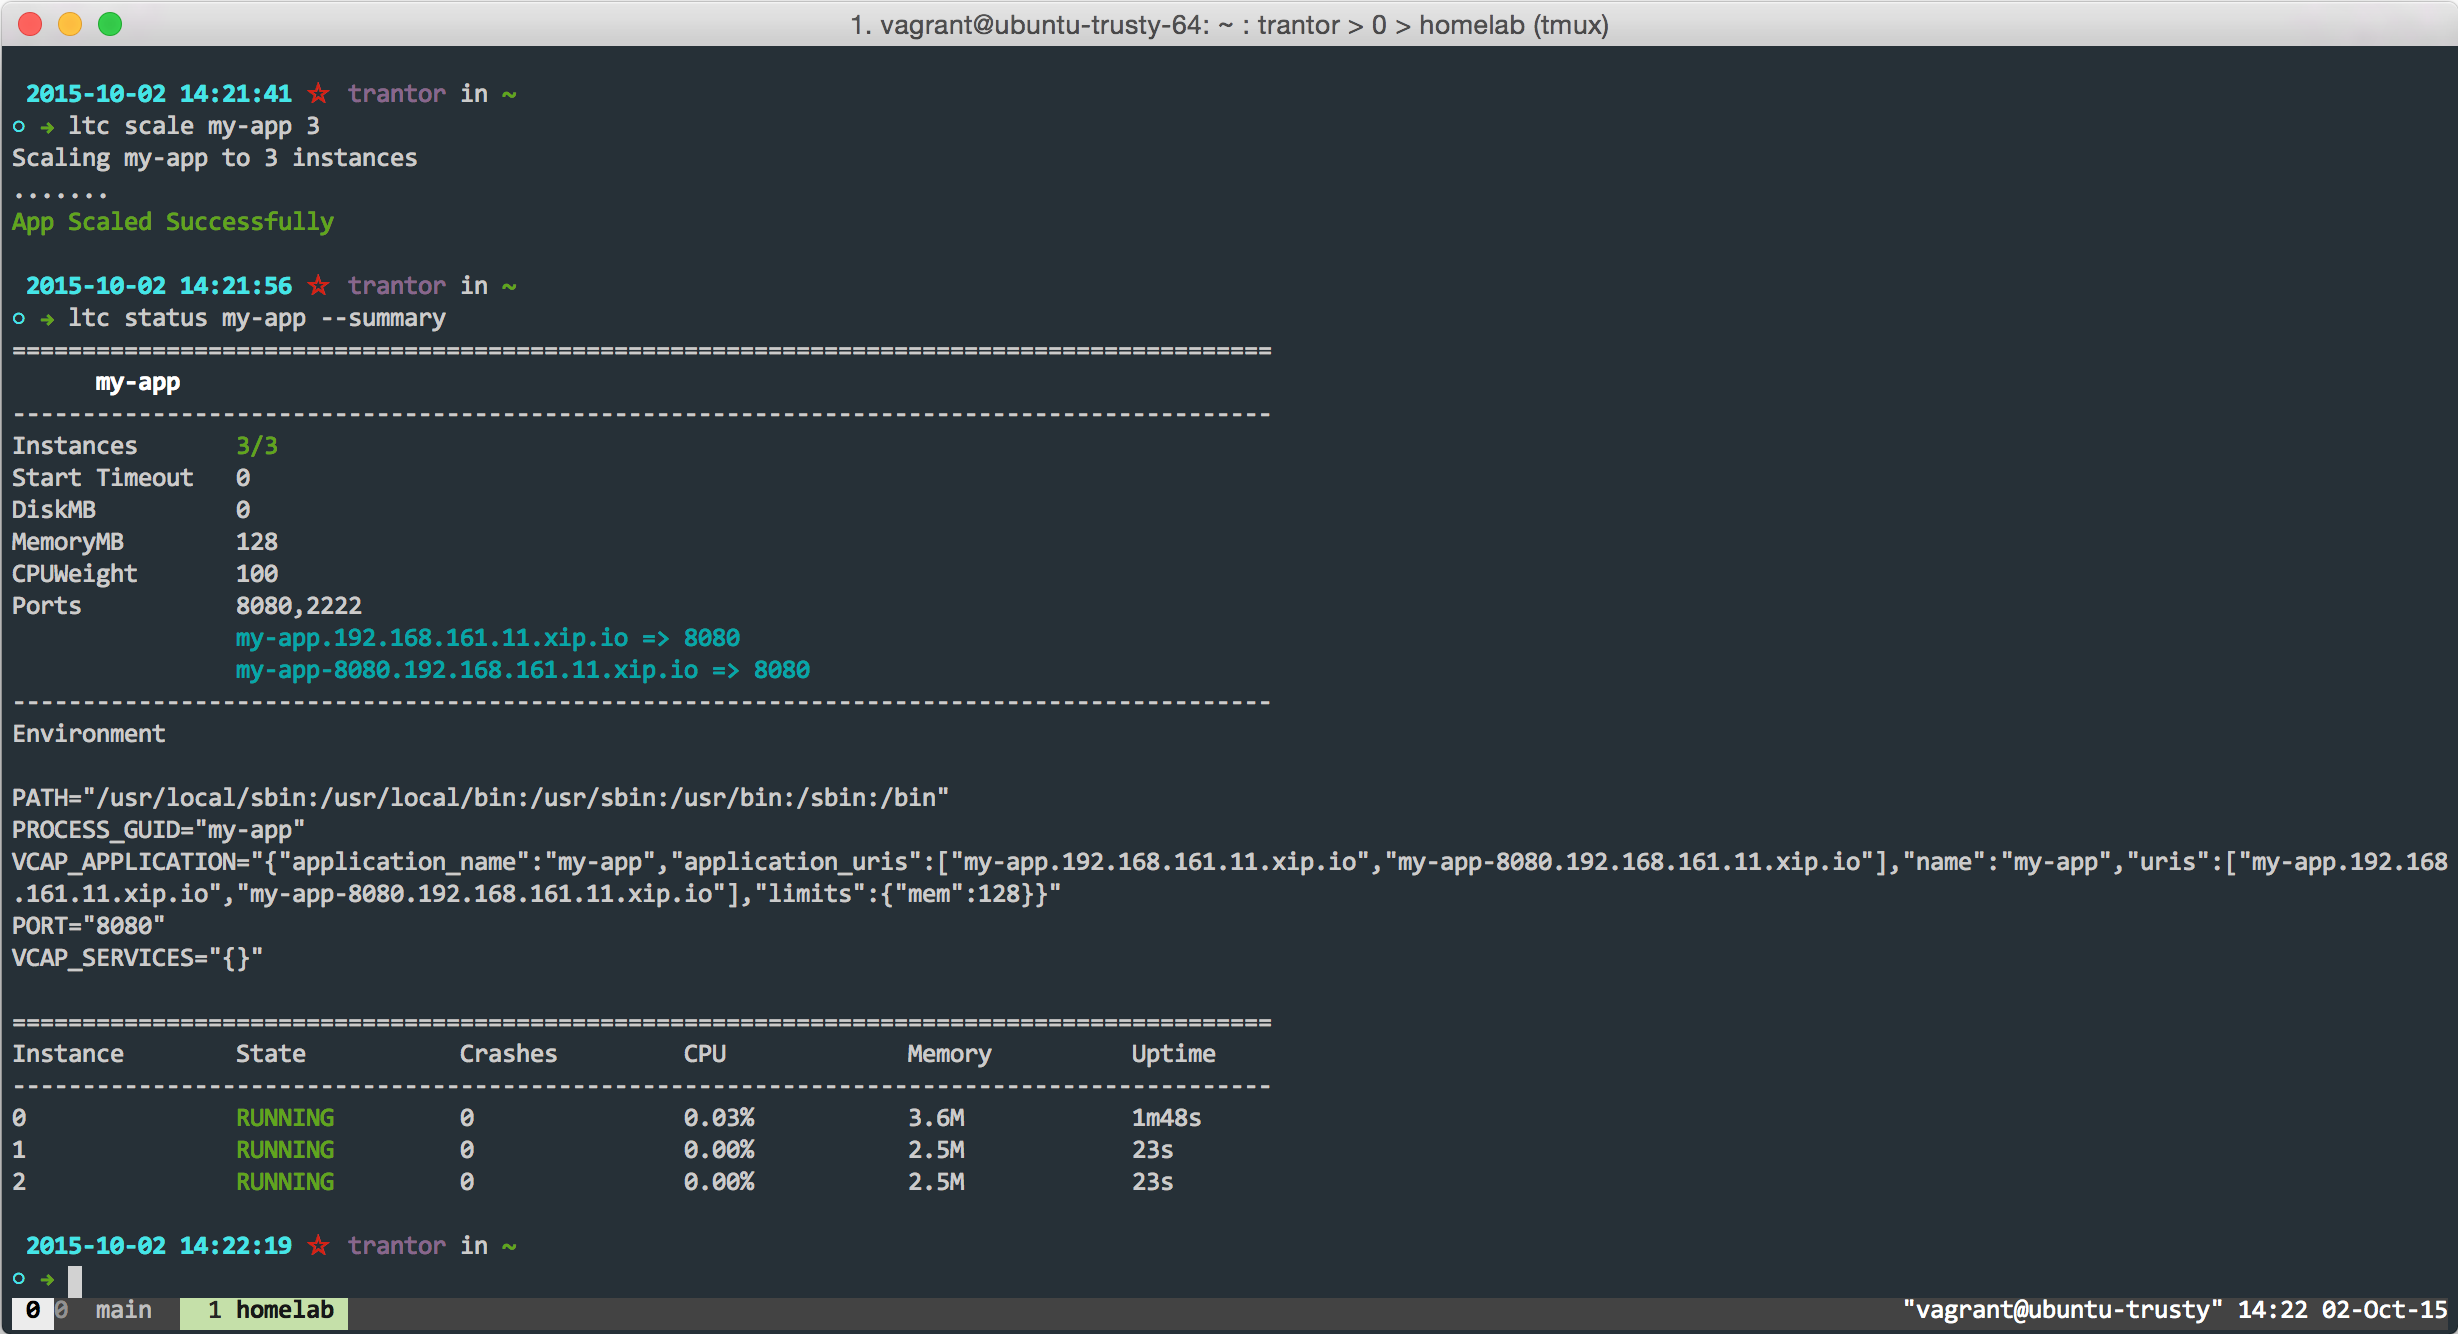
The index indicates the node that we are accessing. Next we will scale up the application adding two additional containers. Use ltc scale to add additional instances of the app and ltc status to retrieve the status.
Another useful operation with ltc is the capacity to get the logs for your app.
 2015-10-02 14:23:18 ☆ trantor in ~
○ → ltc logs my-app
10/02 14:30:11.10 [APP|2] Lattice-app. Says Hello. on index: 2
10/02 14:30:11.28 [APP|0] Lattice-app. Says Hello. on index: 0
10/02 14:30:11.60 [APP|1] Lattice-app. Says Hello. on index: 1
10/02 14:30:12.10 [APP|2] Lattice-app. Says Hello. on index: 2
10/02 14:30:12.28 [APP|0] Lattice-app. Says Hello. on index: 0
10/02 14:30:12.60 [APP|1] Lattice-app. Says Hello. on index: 1
I’ll let you to add more apps to Lattice and to play around with ltc.
Comments are welcome, as always.
Juanma.