Taking Chargeback API for a ride - Part 2
Table of Contents
In the first post of the series we discussed Chargeback API basics and how to interact with it using Firefox REST Client. In this second and final post we will see how Chargeback integrates with vCenter Orchestrator.
VMware provides a plugin for the integration between vCO and CBM, however there some caveats with that plugin. First it is for version 2.0 and to be able to use it with 2.5 or above there are some changes to perform, the whole process is described in VMware KB 203145.
Second gotcha of the plugin is that it doesn’t cover every possible API within Chargeback, yes you heard it correctly. To cover those parts we need to use the vCO plugin for REST APIs, of course this plugin needs some configuration before being able to interact with Chargeback but will see later how to do it.
Add Chargeback server to vCenter Orchestrator inventory #
Open vCenter Orchestrator configuration website at https://vco_server:8283 and install Chargeback and REST plugins. I’m not going to describe the process of installing a plugin since it is fairly well documented in vCO documentation.
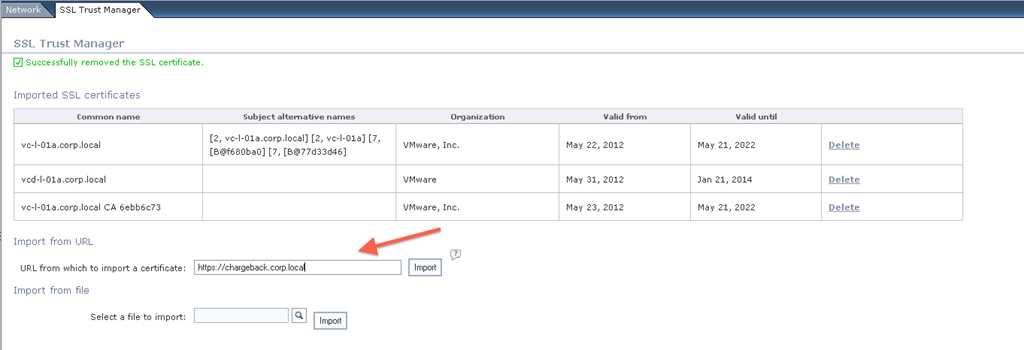
Next we need to import Chargeback SSL certificate, go to Network and then to SSL Trust Manager tab. Enter Chargeback server URL in the Import from URL textbox and click Import.
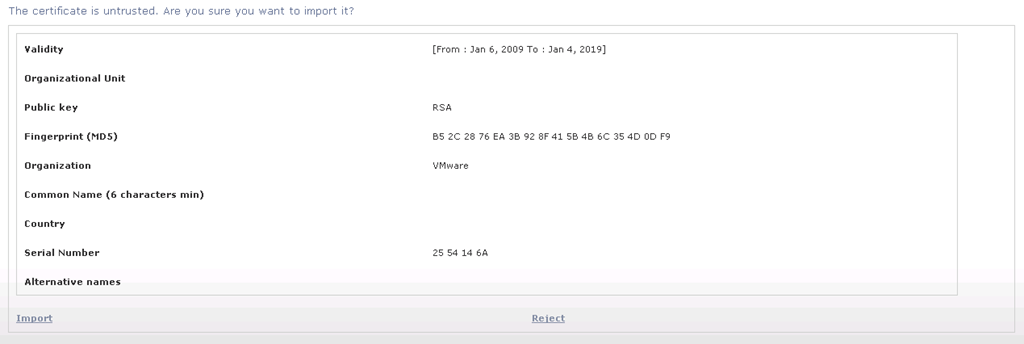
A screen with the details of our Chargeback server will appear, click Import to accept the certificate.
Now from the Chargeback (2.0.0) area go to New Server tab, enter Chargeback server details and click Apply Changes.
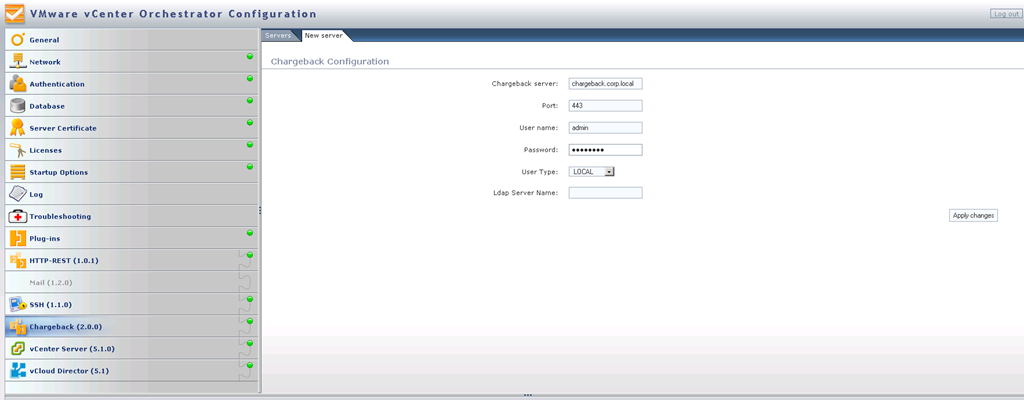
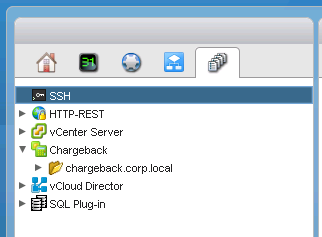
In vCO client our new Chargeback server will appear.
Using vCO plugin for Chargeback Integration #
vCenter Orchestrator plugin for Chargeback allows to perform several administration tasks in a Chargeback server and also cost management, service management and configuration tasks. Following is an example workflow for a configuration and management action.
List all hierarchies #
We are going to automate a very easy task as our first example. Create a new workflow and name it List Hierarchies. As workflow parameters add:
- cbmServer – Your Chargeback server. Type Chargeback:ChargebackServer.
- cbmVersion – Chargeback API version, 2.0. Type string.
- hierarchyList – The list of hierarchies- Type Array/Chargeback:Hierarchy.
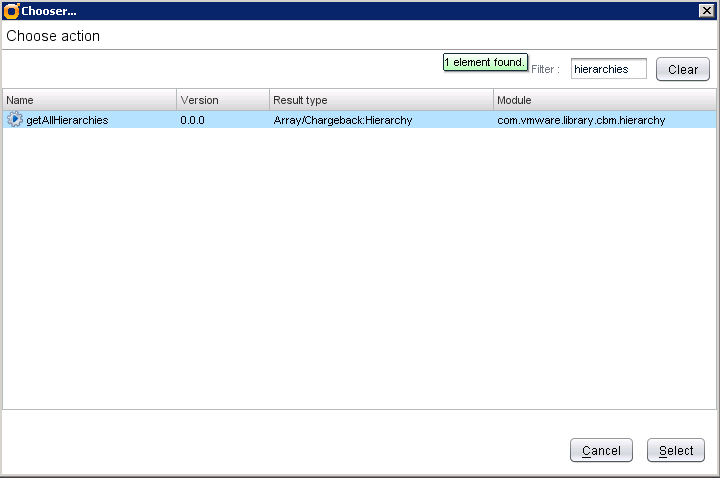
In the Schema tab drag an Action element, a new windows will pop up to choose the action. Search for getAllHiearchies and select it.
Check that the workflows attributes are correctly mapped as the input (cbmServer and cbmVersion) and output (hierarchyList) parameters of the action.
Next add a Scriptable task element to the workflow and edit it. Map hierarchyList attribute as input parameter. In the Scripting tab paste this code.
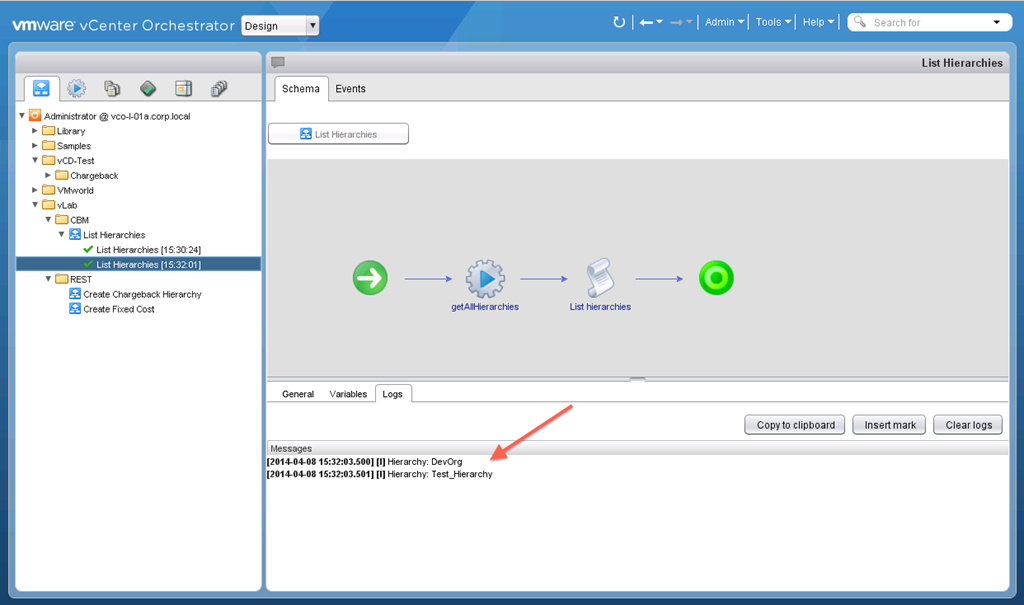
Validate the workflow and save it. The scheme has to look like this.
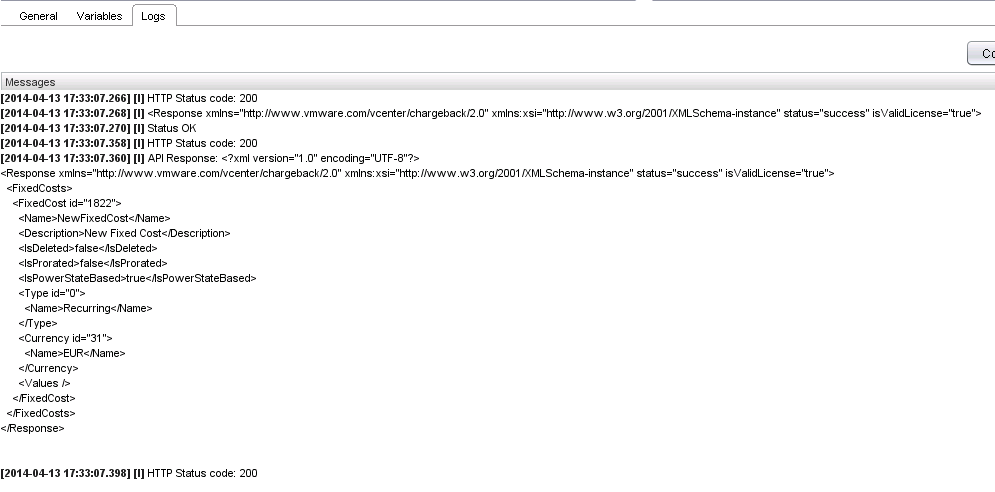
In the execution go to the Logs sub-tab in the main Scheme tab to check the results of the execution, if everything went as expected you should see something similar to the screenshot.
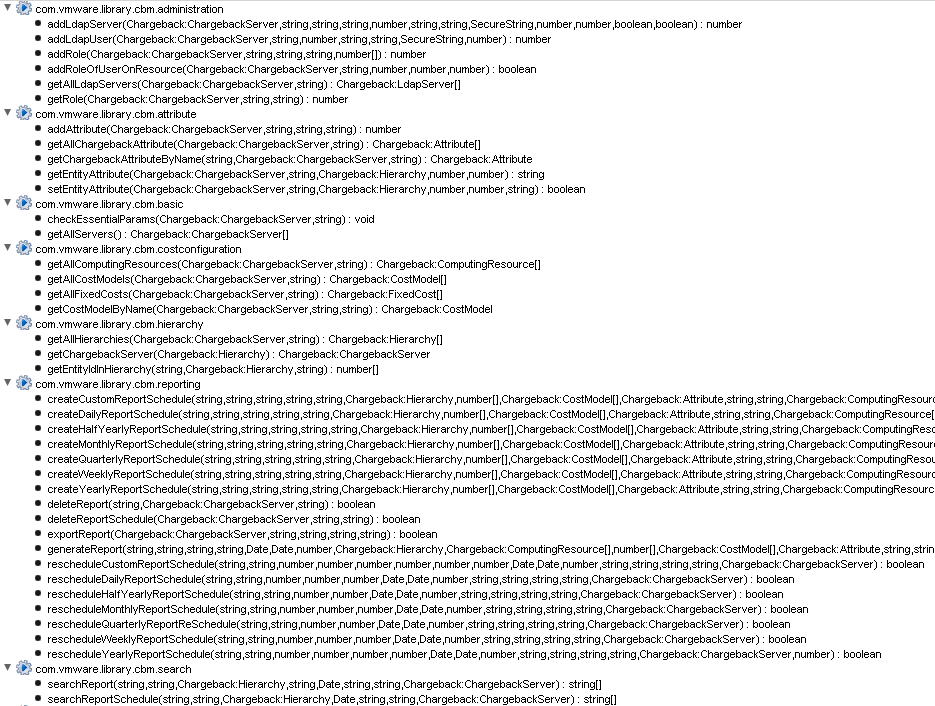
You should be thinking that this example is a bit silly, and to be honest it is. There are few use cases that will require to dump the hierarchy list to vCO log. The purpose of this workflow is to illustrate Chargeback plugin Action elements. Open vCO API Explorer and have a look at all the already implemented Actions that can be used in your workflows.
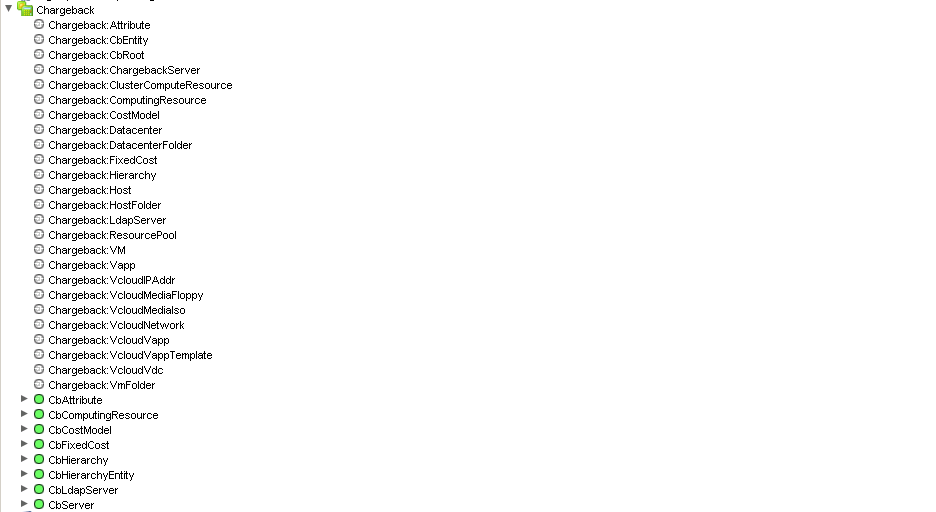
From basic administration tasks to search and reporting. Also Chargeback plugin comes with a set of Scripting Classes and objects that cover all Chargeback objects although as I mentioned before not all available methods are implemented.
Make a call to a method from a scripting class is relatively easy as we will see in the following example. We want to get a hierarchy and later use in a different task. We can use a method from CbServer class: getHierarchyByName. It accepts the hierarchy name and CBM API version as parameters. Basic syntax would be:
The hierarchy scripting object is now instantiated and we can get any property from it, like its ID.
Using vCO HTTP-REST plugin with Chargeback #
vCenter Orchestrator has available an HTTP-REST plugin that enables it to interface with systems without a plugin or, like CBM case, to be able to execute some operations not implemented in the plugin. Current vCO plugin doesn’t have implemented the possibility to manage fixed costs in Chargeback. However using the plugin for REST APIs we can circumvent that shortage. But before creating any workflow we need to configure the REST plugin for Chargeback.
Configure REST plugin #
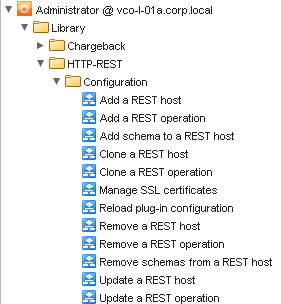
vCenter Orchestrator plugin for REST APIs comes with a set of workflows for configuration purposes.
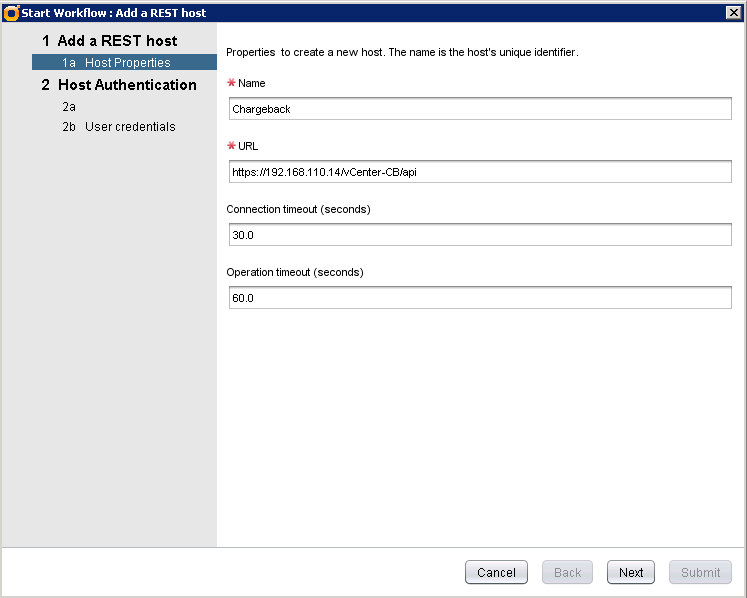
We need to add first our Chargeback server as REST host. Launch the Add a REST host workflow. Enter the name of the REST host and the base URL for the API, leave the timeout settings with the default values.
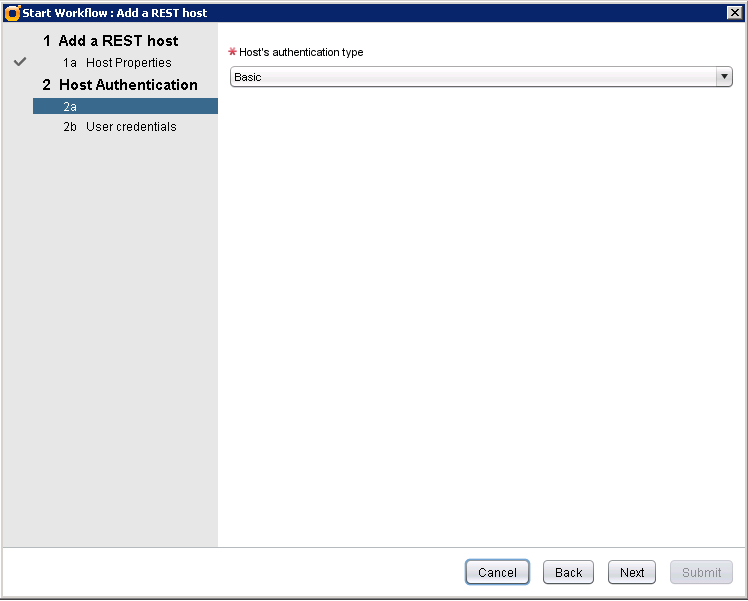
In the next two steps select Basic authentication mode…
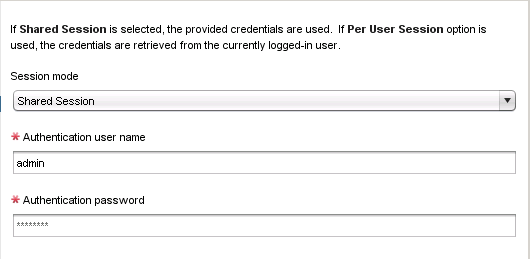
…shared session and enter Chargeback server credentials.
Click submit and have a look at the workflow execution.
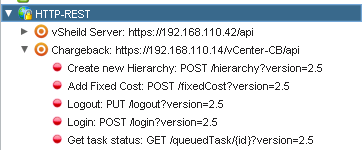
If everything went fine we cam see our new REST host in vCO inventory under HTTP-REST. Next step is add the API operations we need to execute using this plugin. Or course you have to add a Login and Logout operation and for our example we are going to add the following ones:
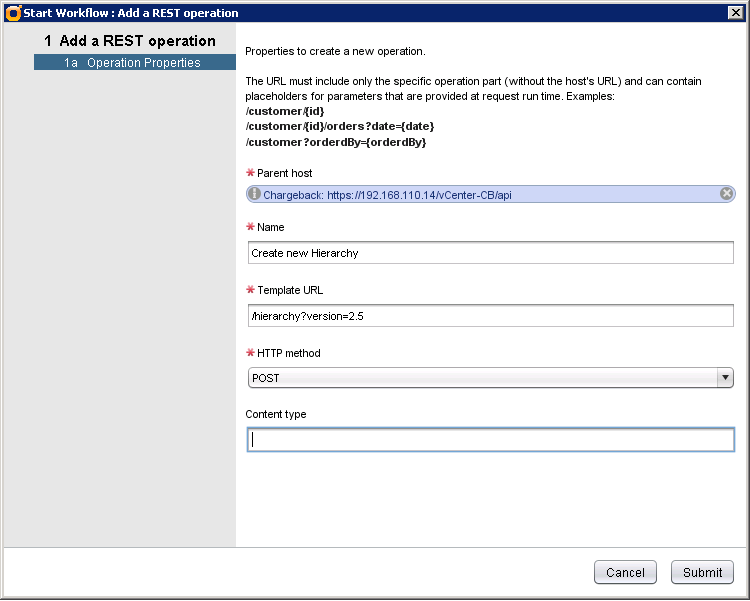
- Create new Hierarchy
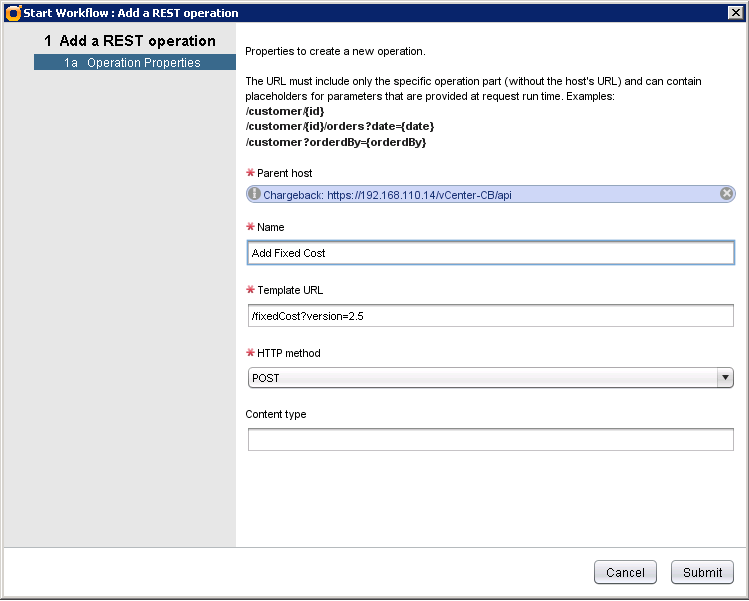
- Add new Fixed Cost
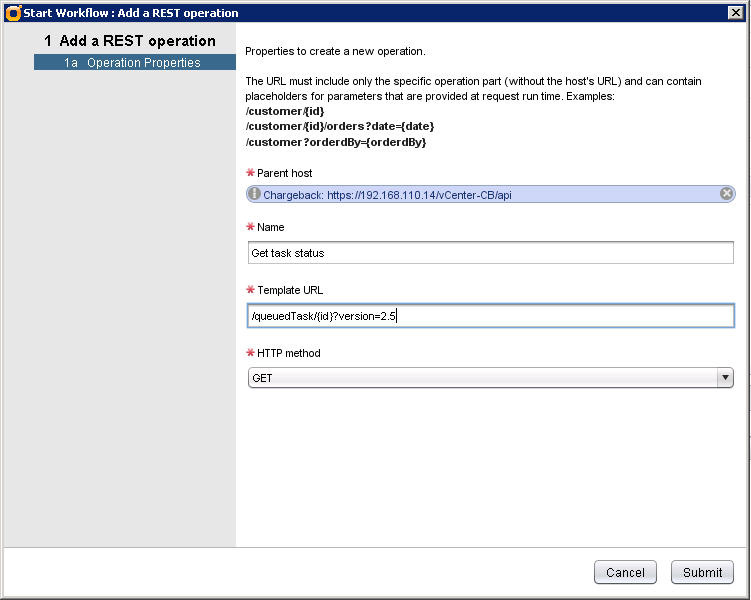
- Get Task Status – We will not use this one in any of the workflows of the post but I decided to add it to show how to add URL parameters
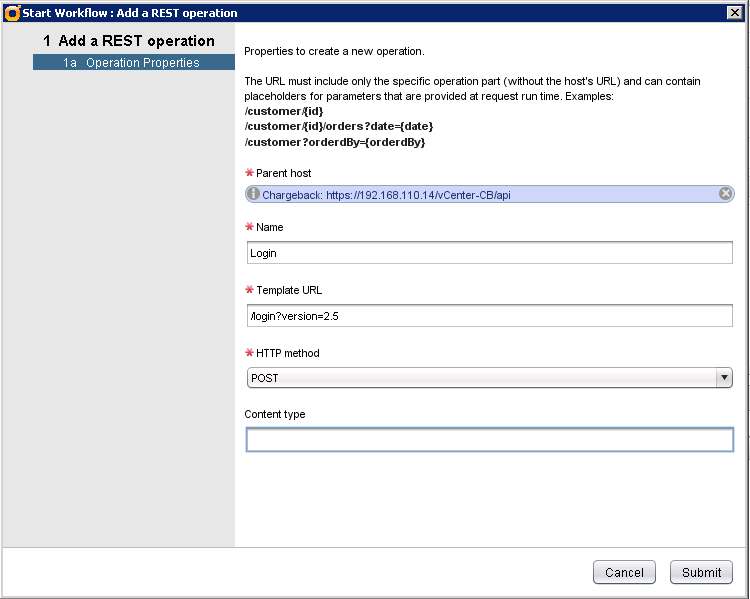
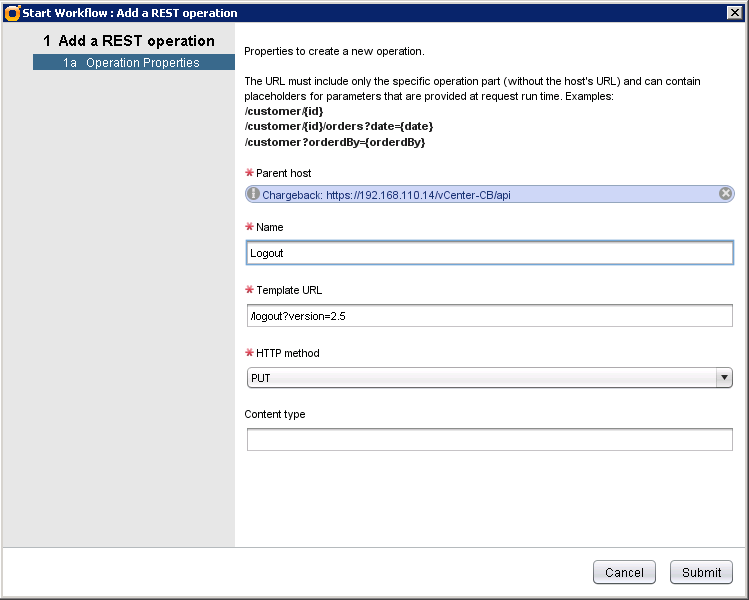
Launch Add a REST operation workflow and enter the following parameters:
- Parent host – Our previously added REST host.
- Name – a unique name for the operation.
- Template URL – This the API signature in the case of Chargeback. The URL can contain placeholder for parameters to be provided during request phase of the operation.
- HTTP Method.
- Content Type – Optional parameter only for POST and PUT methods.
Below are the screenshots and parameters for the five REST operations we need to add.
Login #
Logout #
Create a new hierarchy #
Add a new Fixed Cost #
Get task status #
Look at in the inventory in vCenter Orchestrator client and check that all the new added operations appear under Chargeback REST host.
Now we can proceed to create our workflows.
Add a new Hierarchy to Chargeback #
We are going to reproduce one the examples from Part 1 using vCO. First create a new empty workflow. As attributes we are going to use the following ones:
- cbmVersion – Chargeback API version, 2.0.
- cbmUser – User with administrative privileges in Chargeback
- cbmPassword – Password of the above user
- restLogin – Login REST Operation
- restLogout – Logout REST Operation
- restCreateHierarchy – Create hierarchy REST Operation
- loginStatus – Status of the login REST Operation.
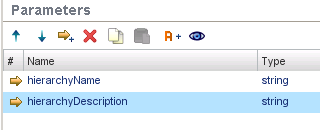
Next configure the input parameters, basically for our purposes here we will need the hierarchy name description.
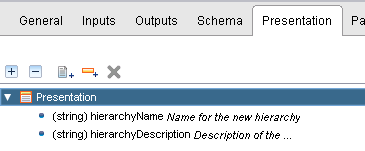
At the presentation layer the parameters will shown as Name of the new hierarchy and Description for the new hierarchy.
Add two Scriptable tasks to the workflow, name the first as API Login and the second as API Logout and paste the code from the previous Login and Logout examples. Now add a third scriptable task to be executed after the login, name it as *Create Hierarchy and edit it. Paste the below code in the Scripting tab.
Edit the API Login element and in the scripting tab add the following Javascript code.
With this chunk of code will suffice to launch the operation, however there is no error control. The HTTP status code is not enough because the login operation can fail even with a 200 code, like the example below.
To solve this we need to parse the response content. REST plugin scripting API provides a method to retrieve the content of the response as a string.
The following code will do the trick.
Firstly we need to convert the string to and array, then we get the second element of the array since and look for a successful status. The element has loginStatus as output parameter bind to the attribute of the same name. The System.log statements are not required but can be useful for troubleshooting purposes.
Add a Decision element to the workflow and bind the decision to the loginStatus parameter.
Change the failure branch of the decision from End workflow to Throw exception and bind it to loginStatus. With this decision element we can force the workflow to end the execution if the API login operation was unsuccessful.
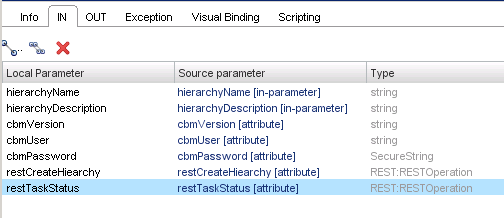
Next edit the Create hierarchy element. Bind restCreateHierarchy, cbmUser, cbmPassword and cbmVersion attributes as input parameters, also bind hierarchyName and hierarchyDescription as input parameters.
In the scripting tab paste this code.
The last part, this is the REST operation output is optional but again it can be useful if we need to troubleshoot the workflows using vCO logs.
Our workflow is done and it should look like this.
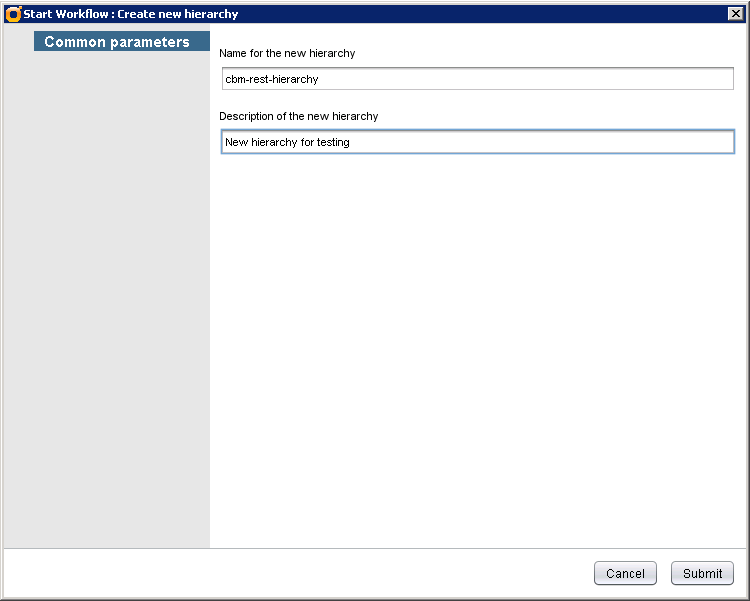
Launch it and enter a name and a description to test it.
Click Submit, check the workflow logs for any errors and if everything went as expected go to Chargeback UI and see that the new hierarchy is there.
Add new Fixed Cost #
For our second workflow we are going the same structure as before. hence the first task is duplicate our first workflow and edit the copy. As input parameters we will use:
- cbmVersion – Chargeback API version, 2.0.
- cbmUser – User with administrative privileges in Chargeback
- cbmPassword – Password of the above user
- restLogin – Login REST Operation
- restLogout – Logout REST Operation
- restAddFixed Cost – Add new fixed cost REST Operation
- loginStatus – Status of the login REST Operation.

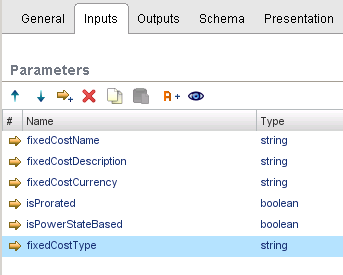
Very similar to the hierarchy one. However in this case as input parameters we will need much more information.
- fixedCostName – Fixed Cost name
- fixedCostDescription – Fixed Cost Description
- fixedCostCurrency – ID for the currency. A full list of the currencies supported by Chargeback can be found in the API Reference. US Dollar is 104 and Euro 31.
- isProrated – Configure the new fixed cost as prorated or not. Default value is true. Cannot be used with one-time fixed costs.
- isPowerStateBased – Configure the fixed cost to be applied only if the virtual machine is powered on. It’s not mandatory, default value is false.
- fixedCostType – Fixed cost type. A value of 0 represents a recurring fixed cost and 1 represents a one-time fixed cost. It’s not mandatory and the default value is 0.
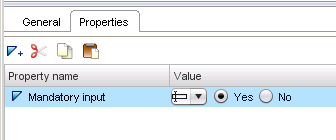
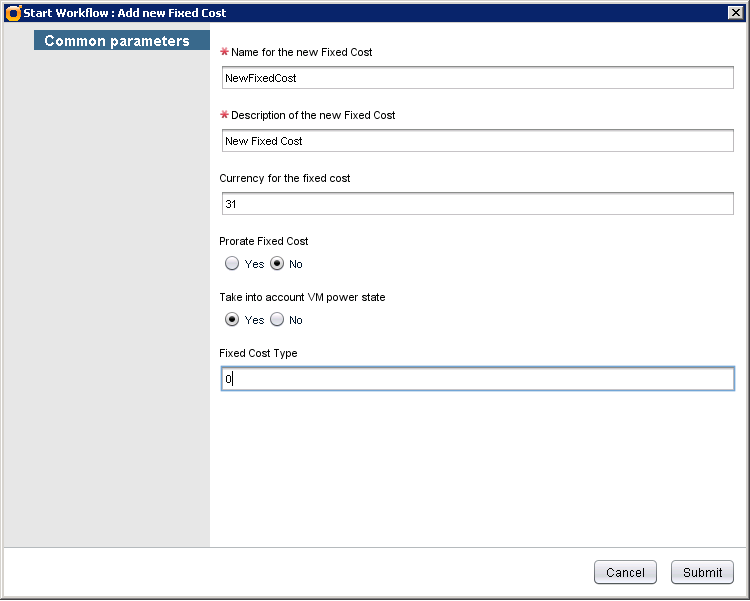
Some of the input parameters are optional but we will use all to illustrate the example with all the possible details. At Presentation add a new property for the name and description to make them mandatory. You can also set the default values for the rest of the parameters.
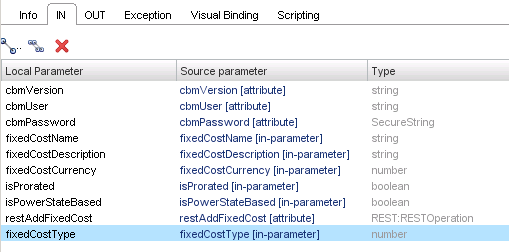
Change the name of the second scriptable task to Add new Fixed Cost and edit it. Bind all the needed parameters and attributes.
In the XML payload we need to reflect all these parameters. Below is code for the scripting part.
Validate the workflow and save it. Execute it and fill in the input parameters.
Check in the Chargeback UI our newly created Fixed Cost.
We can also have a look at the API response in the workflow logs.
And we are done. This is the end of this two-post series and I hope that know you all have a better understanding of Chargeback API. As your next step my advice is to try to automate simple API tasks, even if they don’t seem to be very useful, and then combine them into more complex automation workflows along with vCenter and vCloud Director plugins.
In future posts I’ll show a couple of real world examples about how I have used CBM and REST plugins in some customer deployments.
Juanma.
