vCSA 5.1 – Deployment and upgrade
In the last post we discussed about the new features and changes that comes with version 5.1 of the VMware vCenter Server Appliance. In this new one I will explain how to deploy it and perform an upgrade.
vCSA Deployment
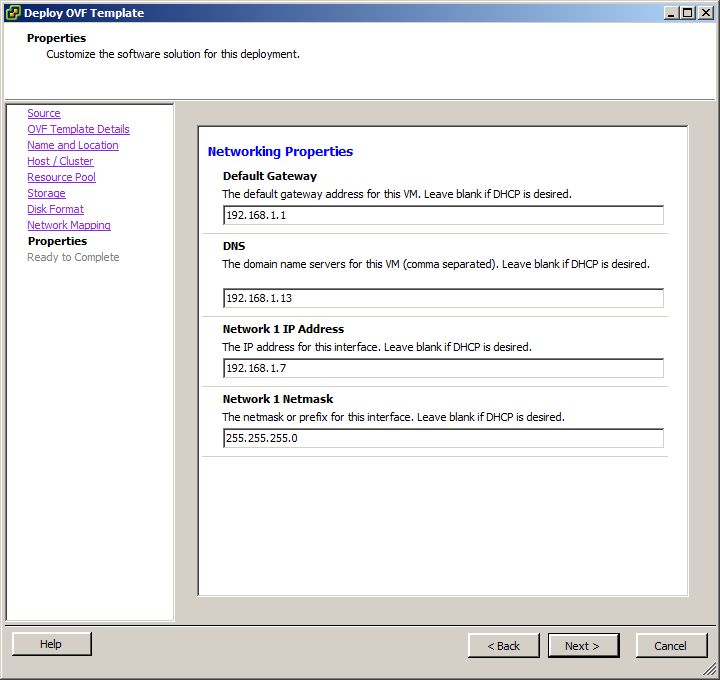
The deployment of the vCSA 5.1 is very similar to the previous version. Use the vSphere Client to deploy a new OVF template and browse to the vCSA OVA package, follow the instructions until you get to the Networking Properties screen.
Here you can pre-set the networking configuration values of the appliance.
If you are going to do a fresh vCSA or vSphere installation enter the appropriate values on each field. If you want to perform an upgrade instead leave them blank to get the info by DHCP or put a temporal IP address if there is no DCHP server in place. You don’t need to put here the final values since during the upgrading process all the network settings will be migrated.
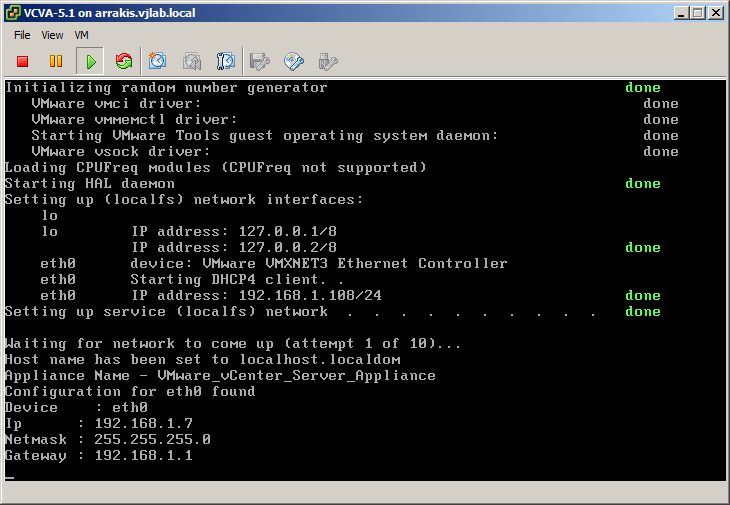
Let the deployment process finish and power on the vCenter appliance. During the boot process you can see how the network configuration is applied to the VM.
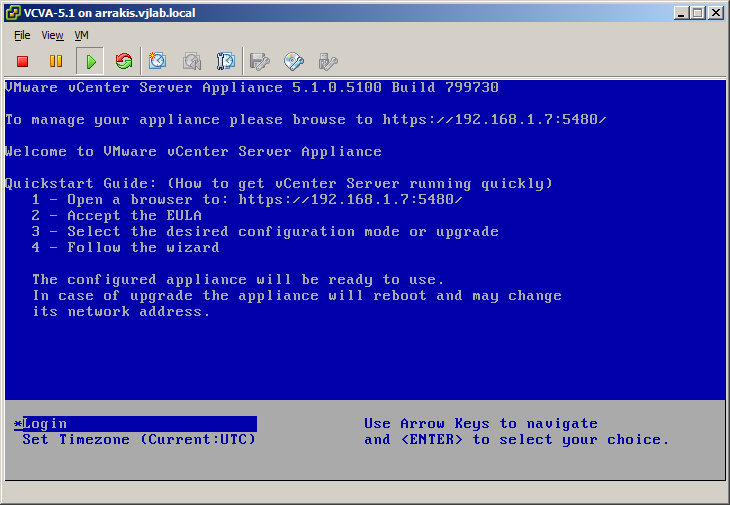
And finally you will reach the familiar blue screen.
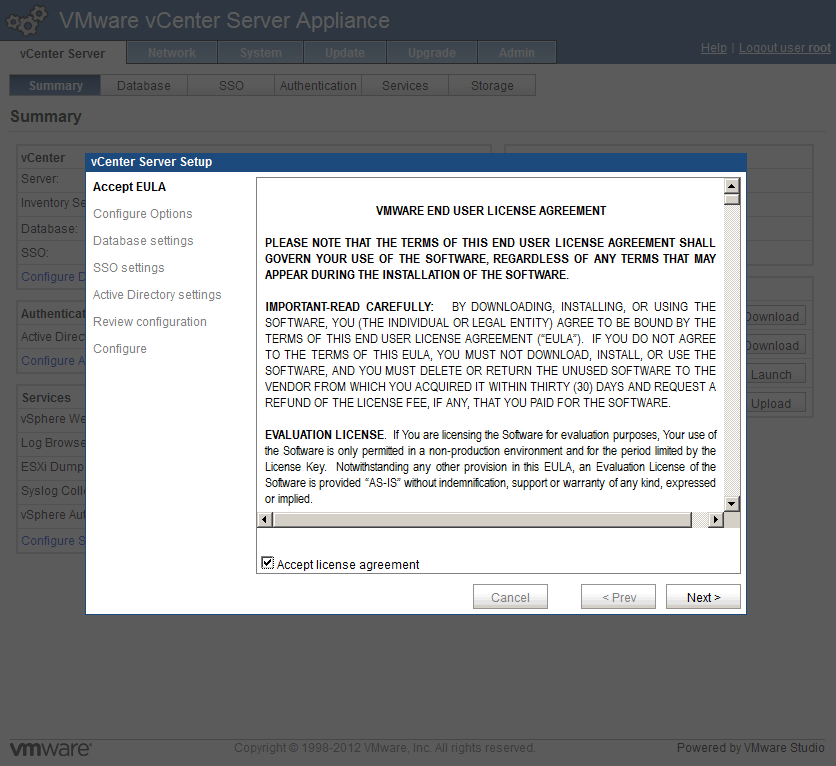
That’s it, now proceed to the appliance web UI to complete vCSA setup. In your first log into the vCenter a wizard will appear.
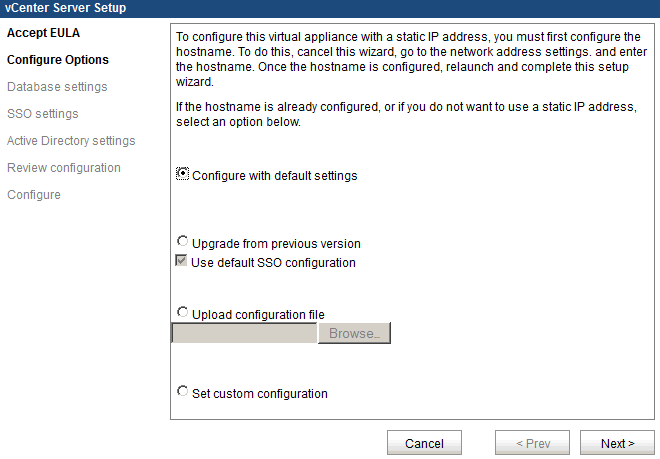
After accepting the EULA you will presented with four options:
- Configure with default settings
- Upgrade from a previous version, which also gives you the option to use the default Single Sign On configuration.
- Upload configuration file. Very useful in case your vCenter Server virtual machine gets corrupted or you messed it up, if have a saved copy of the most recent configuration file you can deploy a new appliance and quickly restore its settings by uploading it.
- Set custom configuration - I used this option for my homelab testing.
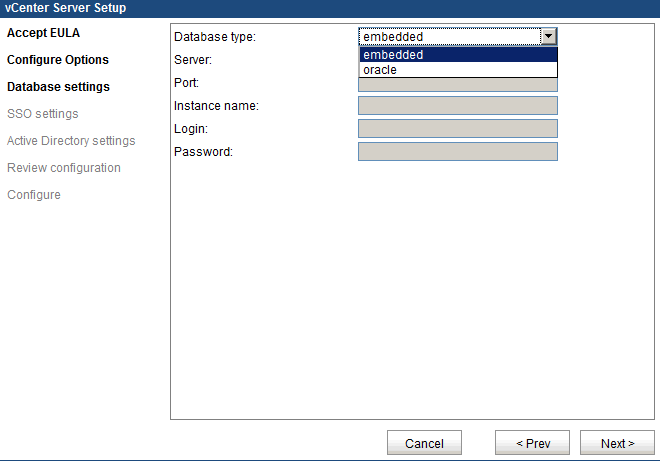
In the next screen you choose which database you want to use, the vPostgres embedded or an Oracle external.
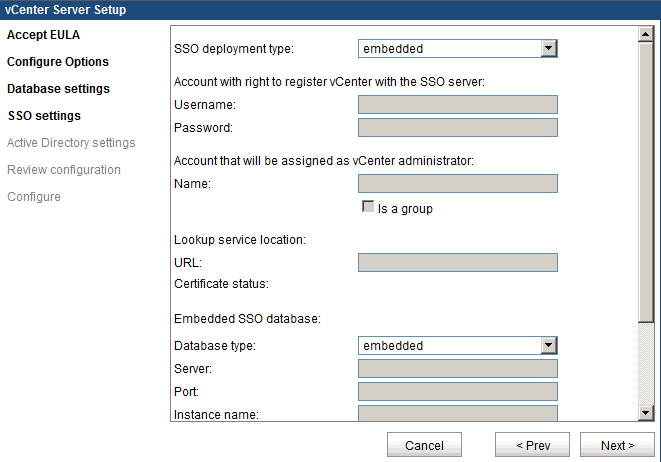
Now we must choose the options for the Single Sign On server. vCenter 5.1 comes with a new component known as the Single Sign On server, or SSO.
SSO allows an administrator to login through the vSphere Web Client or the API and perform operations across all components of the vCloud Suite without having to log into them separately. It integrates with multiple identity sources like Windows Active Directory, NIS and OpenLDAP. The SSO is a requirement for the Inventory Service, vCenter Server and the Web Client.
In the Windows based vCenter installer SSO comes as a separate component that can be installed in the same VM as the vCenter or in a different one as a stand-alone server, in High Availability mode or even in a multisite environment.
vCSA comes with the SSO embedded however it is prepared to use an external SSO server too. If choose the external SSO deployment mode all the appropriate information must be provided in this screen. Again as with the vCenter itself the database type must be set.
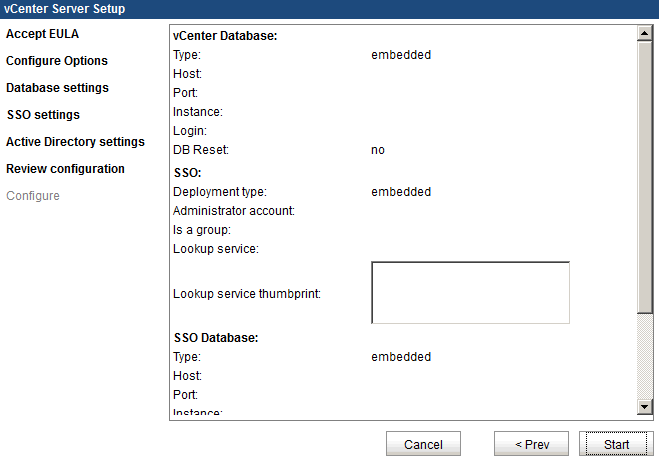
Finally set the Active Directory configuration accordingly to your environment, review the configuration and click Start to begin.
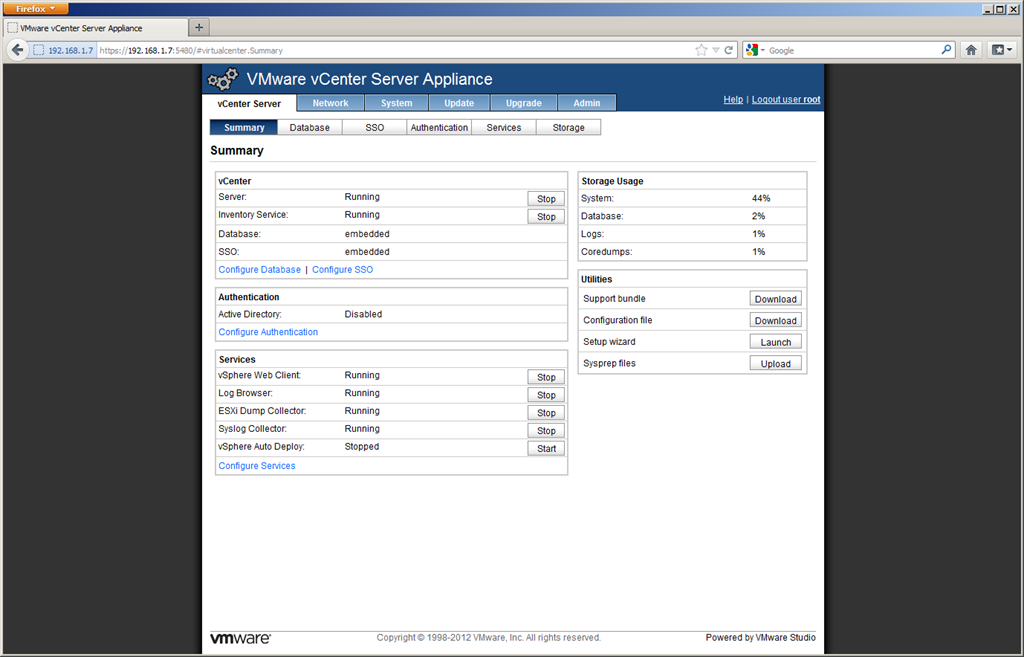
At the end if everything goes fine you will see a screen with a confirmation, click close and will see al the vCenter services up and ready in the main screen of the WebUI.
The deployment and basic setup of the vCSA is done, at this point all other components and settings can be setup from here.
vCSA Upgrade
The upgrade of the vCenter Server Appliance will allow to update to a different OS version and migrate to a different database.
If you are upgrading from 5.0 to 5.1 and using the embedded database, it will be migrated from IBM DB2 to VMware vPostgres. The configuration state will be preserved and the schema will be upgraded in order to be compatible with 5.1. VCSA 5.0 Update 1 already comes with vPostgres instead of DB2.
The major upgrade is supported from 5.0 and updates to 5.1.
The upgrading process is relatively simple:
- Deploy vCSA 5.1.
- Set the 5.0 appliance as source and 5.1 as destination.
- Establish a connection between both VCSAs.
- Import network configuration of existing VCSA.
Prior to the upgrading the vCSA 5.1 must have a valid network connection and vCenter Server service must be stopped and un-configured.
Deploy the appliance as shown above, log into the WebUI and in the wizard accept the EULA in the first screen and select Upgrade from previous version in the second, let Use default SSO configuration as it comes by default.
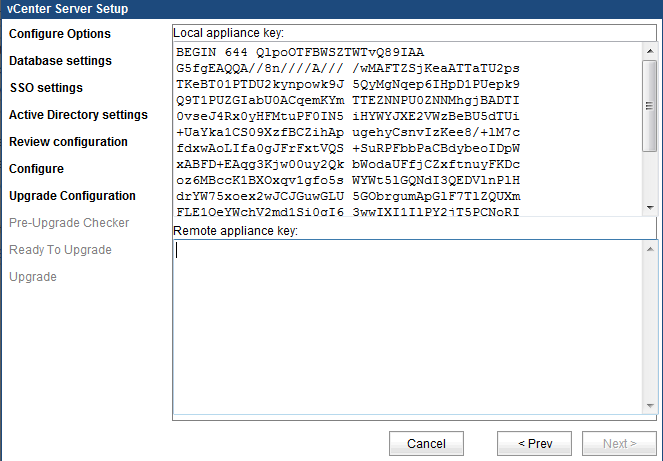
The next screen that will be displayed is the Local and Remote Appliance keys.
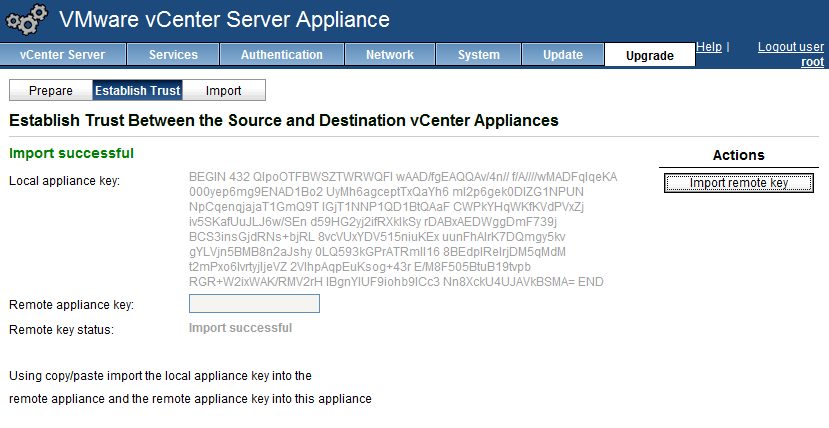
Here we have put the current vCSA 5.0 key. To do so go to the Upgrade tab in vCSA 5.0 web interface. In the Prepare section select source and click Set role.
Go back to the vCSA 5.1 and copy the Local appliance key. On the 5.0 appliance click on Establish Trust and paste the copied key in the Remote key appliance key field. Click on Import remote key and wait for the import to complete.
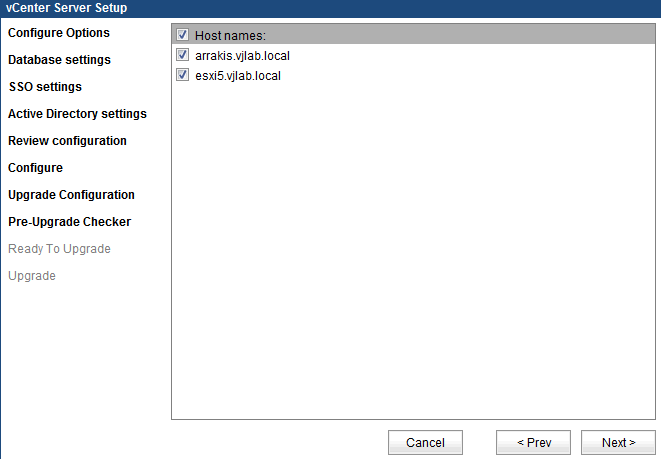
In the vCSA 5.0 copy the Local appliance key. Go to 5.1 vCenter, paste that key on the Remote appliance key field of the setup wizard screen and click Next. The Pre-Upgrade Checker screen will show up.
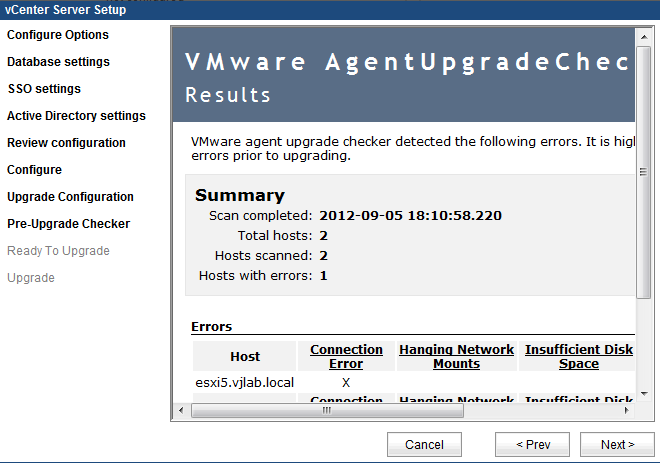
After this a check will be run against the ESX/ESXi managed by the old vCSA and it will generate a report.
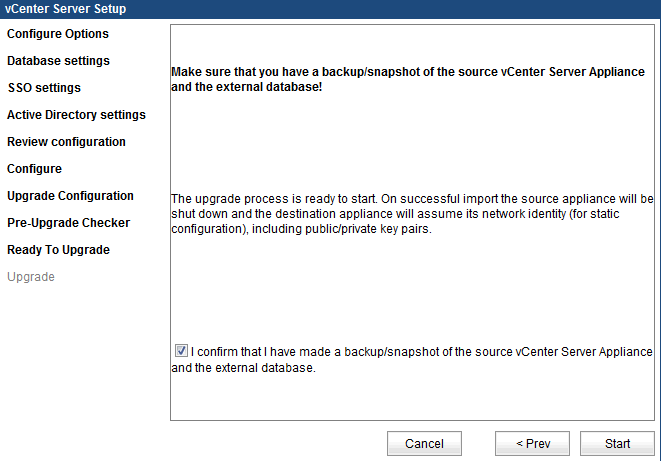
And the final screen will appear asking for confirmation. Click on the confirmation checkbox and in Start.
During the upgrade vCSA 5.1 will shutdown the 5.0 virtual appliance and assumes its network identity.
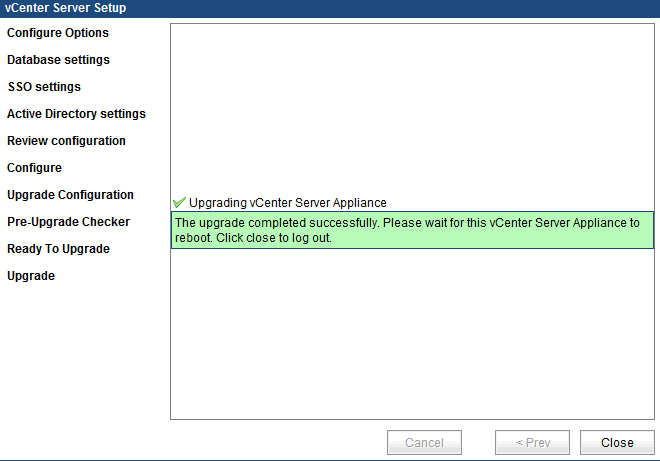
When the process is done a final screen will appear.
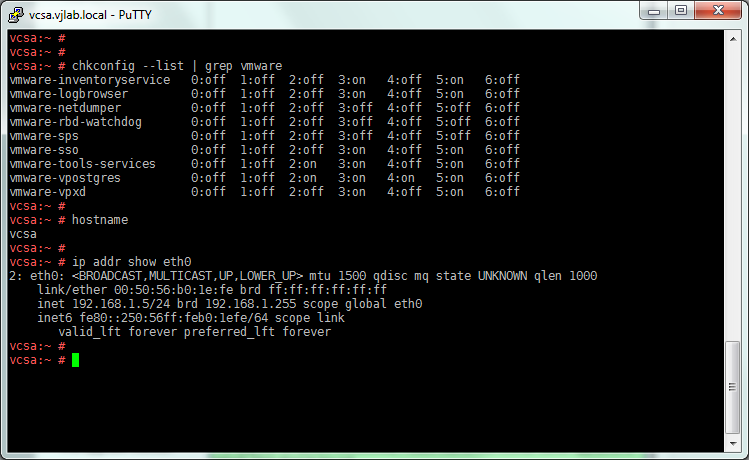
If you want to check if the process is done log into the vCSA through SSH and list vmware services, vmware-sso just to name one will show up on the list.
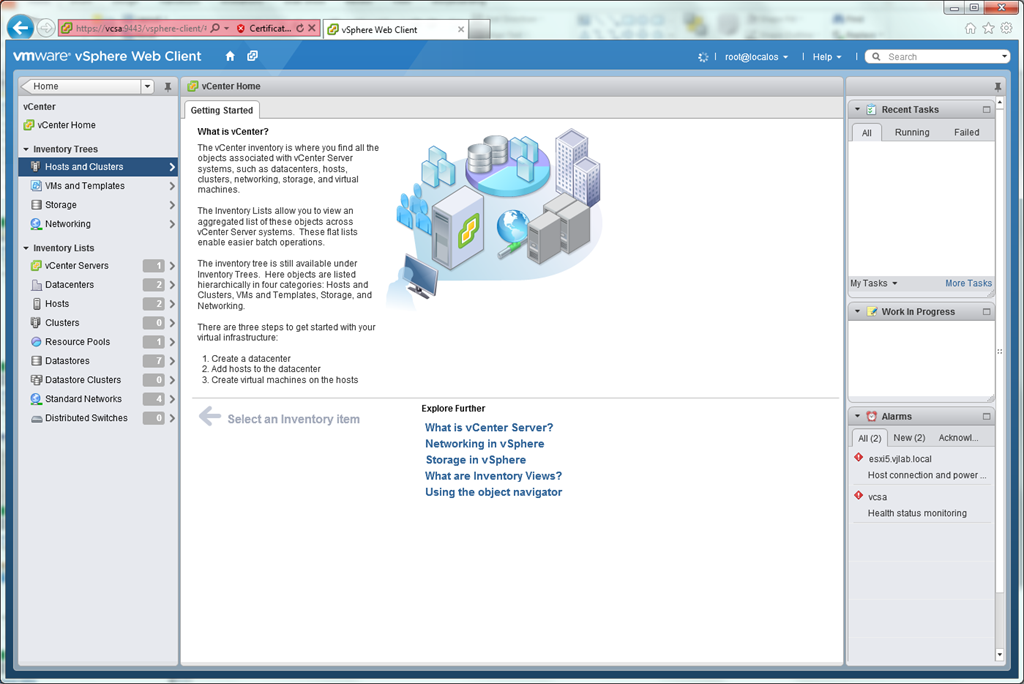
Also you can access the vSphere Web Client and will see the new 5.1 client.
Juanma.


Comments